
Best Loot in Steal Or Die: What to Grab First for the Biggest Payout
What to grab first in Steal Or Die: a priority route from safe phone opens to gold bars, the weight math that kills greedy hauls, and when to drop cargo and run.
FAQ
What is the highest-value loot in Steal Or Die?
Is the mini fridge worth grabbing?
Can you fight the entity with thrown loot?
Do you keep your loot if you die inside?
The best loot in Steal Or Die is not a single item — it is a grabbing order. The game pays nothing for what you pick up and everything for what you carry out, and it slows you down for every kilogram you hold. So the real question is never “what is worth the most” but “what is worth the most at the weight, in the time I have”. This page is the answer: a priority route that scales from your first safe grab to the gold-bar dream, with the traps marked.
The official frame: 31 items, phone at the bottom, gold bars at the top, rarer pays more but weighs you down harder. Full prices live in the value list — this page is about order of operations.

What is the best loot in Steal Or Die?
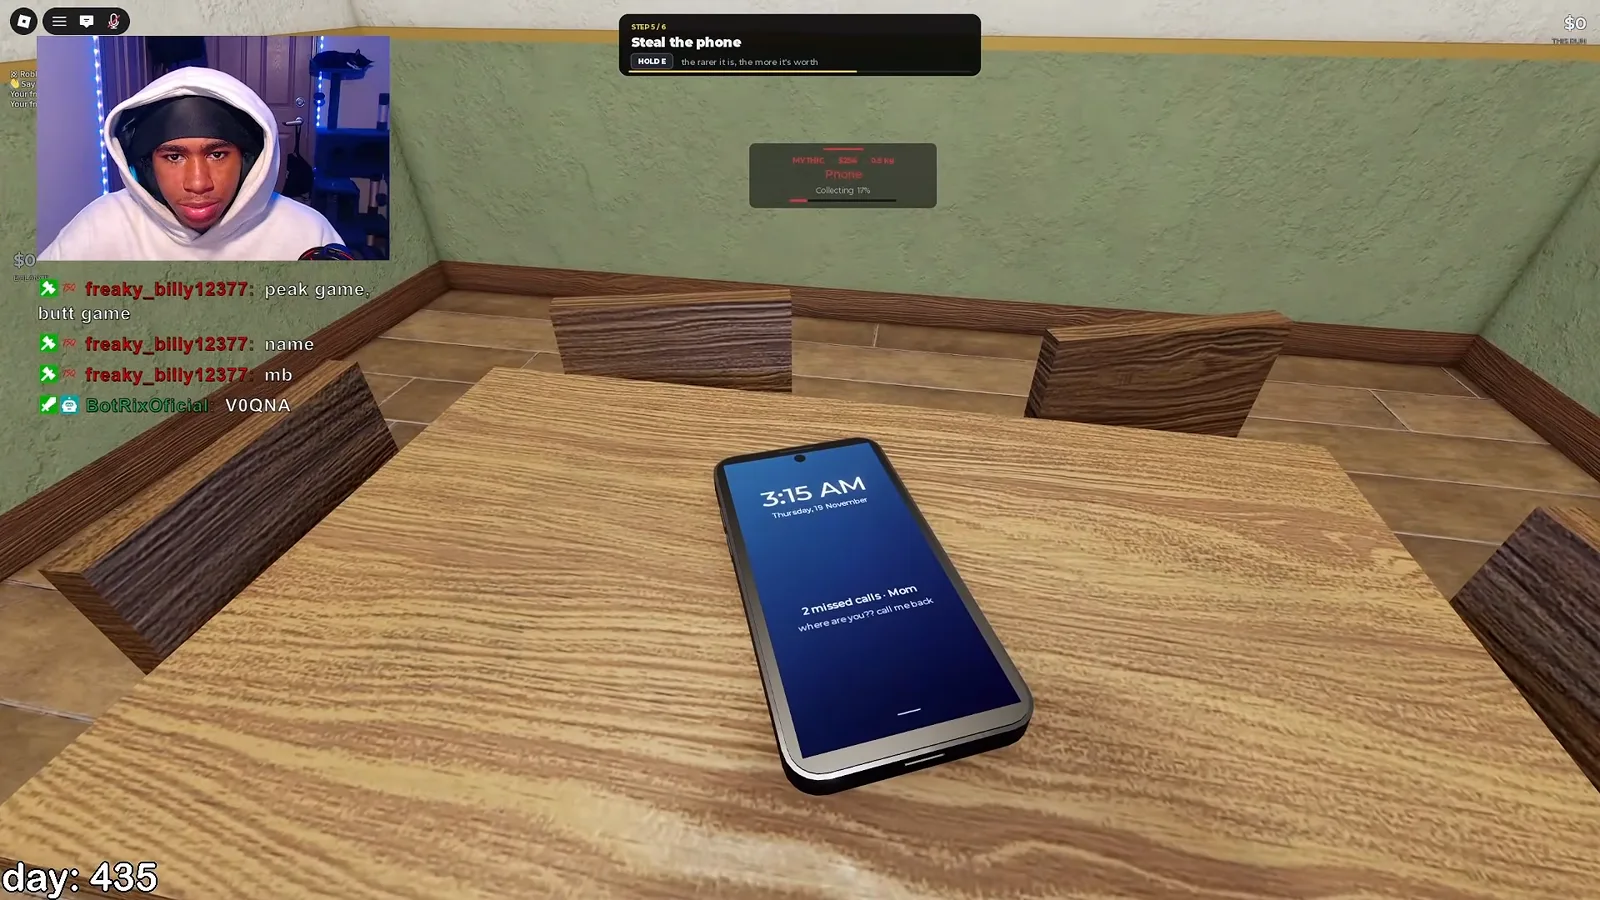
Gold bars, officially — the developer’s own description names them the top of the value range. No community footage has shown one yet, which tells you how rare the top roll is. The best payout actually witnessed is a laptop selling for $332 in a single match, and Mythic-tagged discoveries are the mid-run jackpots players re-plan around: Mythic is the highest rarity tag confirmed in the game, and rarity pays.
But “best” has to survive the walk out. Every item adds weight, the HUD hits you with a “maxed out on weight” warning when you overdo it, and your balance in the top-right corner is worth exactly zero until you exit alive. The winning mental model: you are not shopping, you are packing a bag you might have to run with.

What should you grab first in a run?
The openers, in order:
- A phone. It is the official cheapest item, which makes it the safest first grab in the game — you lose almost nothing if the run goes sideways, and you bank a floor payout. Community players grab one the moment they enter, every run.
- Small valuables: watch, headphones, tablet. Light items with real prices — the watch has sold for $64, and the tablet is notably easy to carry. These stack into a respectable haul before weight even registers.
- The mid-tier money: laptops and encrypted hard drives. Laptops have sold for $35 to $332 depending on the match, and hard drives around $150–$156 each. This is where a run becomes a good run.
- Rarity tags when they appear. If you see a Rare or Mythic tag on inspection, that item jumps your queue — the official rule is that rarer pays more.
Which items are traps for greedy players?
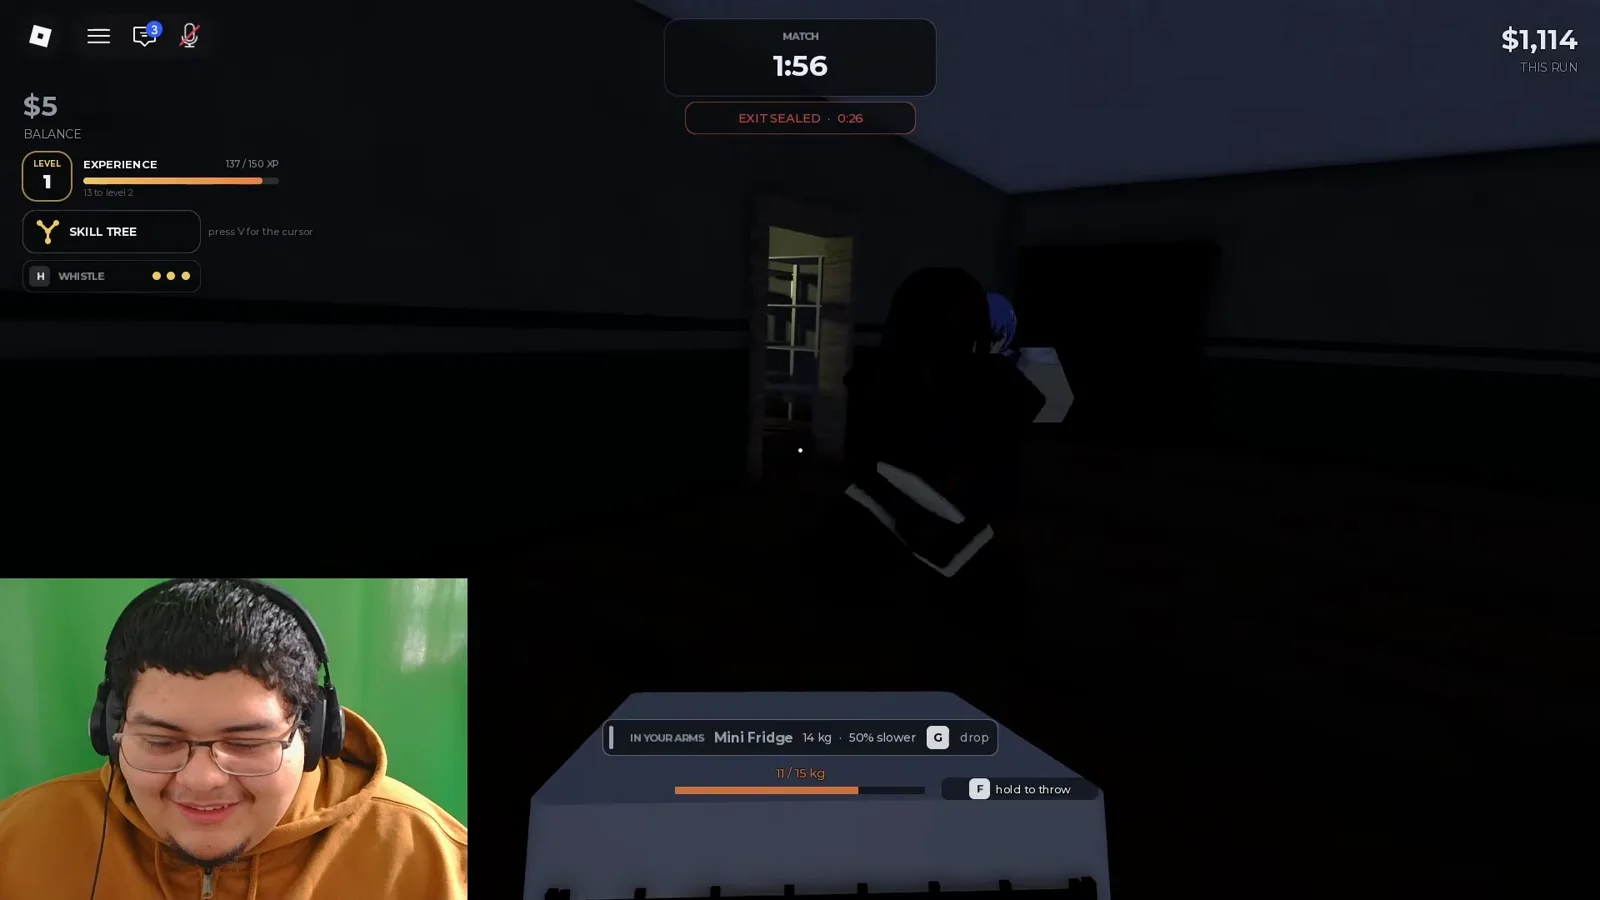
The heavy tier. The mini fridge makes you 50% slower while carried — that is the single biggest confirmed penalty in the game, and slow survivors are dead survivors. The microwave weighs 11 kg and has never been quoted at a price that obviously justifies the haul. Big furniture, guitars and lab sample cases all eat weight for unclear payouts.
None of these are never-grab items. They are “grab last, with the exit already open and the path known” items. The moment weight starts slowing you and the entity is unaccounted for, the correct play is to drop cargo and move — a fast survivor with $50 out-earns a slow one holding $500.
Two more traps that are not about weight:
- The screwdriver is not loot. It cannot be sold — it is a tool that opens vent entrances. Grab it for the escape option, not the payout.
- Throwing items does nothing. A thrown hit on the entity dealt literally zero damage in observed play. Do not plan on stalling the monster with your haul.
How does the exit timer change what you carry?
The exit stays sealed at the start of every match and opens on a countdown you can watch while alive. That clock is the real loot limit: everything you stack is a bet that you reach an open exit before the entity reaches you. The practical rules:
- Treat the sealed phase as low-risk looting. Grab the openers early, while the entity is elsewhere and the stakes are small.
- Stop looting when the exit opens. The moment escape is possible, being loaded stops being clever. Position between your loot and the exit instead of adding to the pile.
- Watch the clock, not the HUD balance. The tutorial’s own words: loot only counts once you walk out with it. Die inside and it is all gone — one observed run banked around $810 — that ceiling is reachable when you leave on time.
Does the map change the priority list?
The order stays the same; the risk changes. On the American Dorm, the confirmed multiple exits make heavier, greedier routes survivable. In the Office, the upstairs floor is a loot room with a limited way down — do not get caught up there heavy. In the Facility, the server rooms hold high-value encrypted hard drives but are the community’s most-reported death zone, worth one fast pass at most. The full breakdown is in the maps routing guide.
If the entity cuts your route mid-run, hiding beats sprinting through it — the hiding guide covers lockers, vents and barricades, including which of those actually stop it. New players should pair this page with the beginner guide for the full match flow, and the rest of the roster — every price seen on screen — is one click away in the items section.
Related Articles
bosses
The Hollow in Steal Or Die (Roblox): Counter the Tall Crawler
The Hollow is the second named Steal Or Die entity: a tall crawler whose player-side vision is heavily restricted. Official card, counterplay, and the 1-of-3 note.
bosses
The Locust in Steal Or Die (Roblox): Beat the Audio Hunter
The Locust is one of two named Steal Or Die entities — an audio hunter that hears footsteps, voice, and your flashlight. Counterplay and monster-side notes inside.
codes
Steal Or Die Codes (October 2026, Roblox): No Active Codes Yet
No working Steal Or Die codes exist as of October 11, 2026 — Vantage Gameworks has not released any. Here's how redemption will work and where codes drop first.
Was this helpful?
Thanks for the feedback!