
Steal Or Die Tips and Tricks: 15 Moves That Keep You Alive
Practical Steal Or Die tips for Roblox — sound and light discipline, the safest grab order, exit timing, and counterplay for The Locust and The Hollow.
FAQ
What is the single most important tip in Steal Or Die?
How do you make the most money in Steal Or Die?
What skill should you unlock first in Steal Or Die?
Can you outrun the entity while carrying heavy loot?
Do tricks like throwing loot at the entity work?
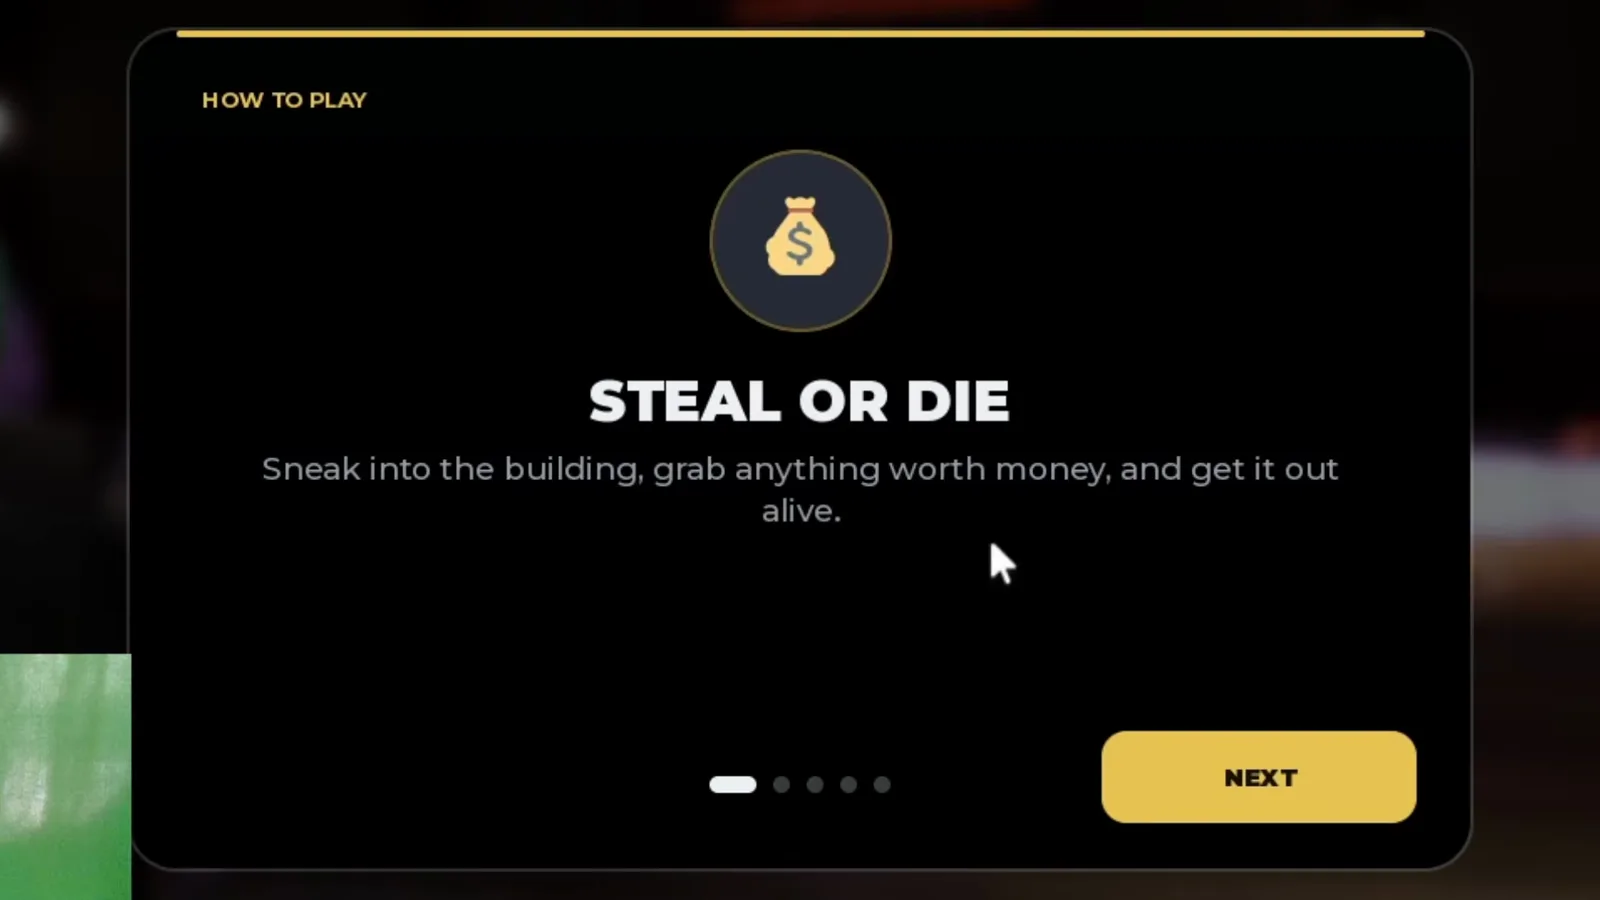
Steal Or Die punishes habits, not bad luck. The entity hunting you is a real player who hears your footsteps, hears your voice, and sees your flashlight beam — the tutorial says all three in plain text. Nearly every tip that matters in this game follows from that one fact, and the rest follow from the exit timer. These fifteen moves are all traceable to the in-game tutorial, the official game description, or community gameplay — nothing here is an invented stat.
What are the best tips for Steal Or Die?
The short version, ranked by how many deaths each one prevents:
- Crouch by default. Crouching cuts footstep noise — the tutorial’s first survival instruction and still the best one.
- Kill your flashlight while moving. The entity sees your light from angles you can’t see back. Flick it on to scan a room, off before you walk.
- Mute your microphone. The game reads your voice, and a mic indicator on the HUD shows when the entity can hear you.
- Grab a phone first. The cheapest item in the game is the safest opener — near-zero risk, a floor payout banked.
- Stack light valuables before heavy ones. Watch, tablet, then laptops — value per kilogram beats raw value.
- Watch the kilograms. The mini fridge makes you 50% slower; the microwave weighs 11 kg. Slow survivors get caught.
- Carry a screwdriver every run. It opens vent entrances — an escape hatch that sells for nothing by design.
- Learn the exits before you loot. Route for exits, not rooms. Know where you’re running before you’re running.
- Move when the exit opens. Stop adding to the pile and position between your loot and the door.
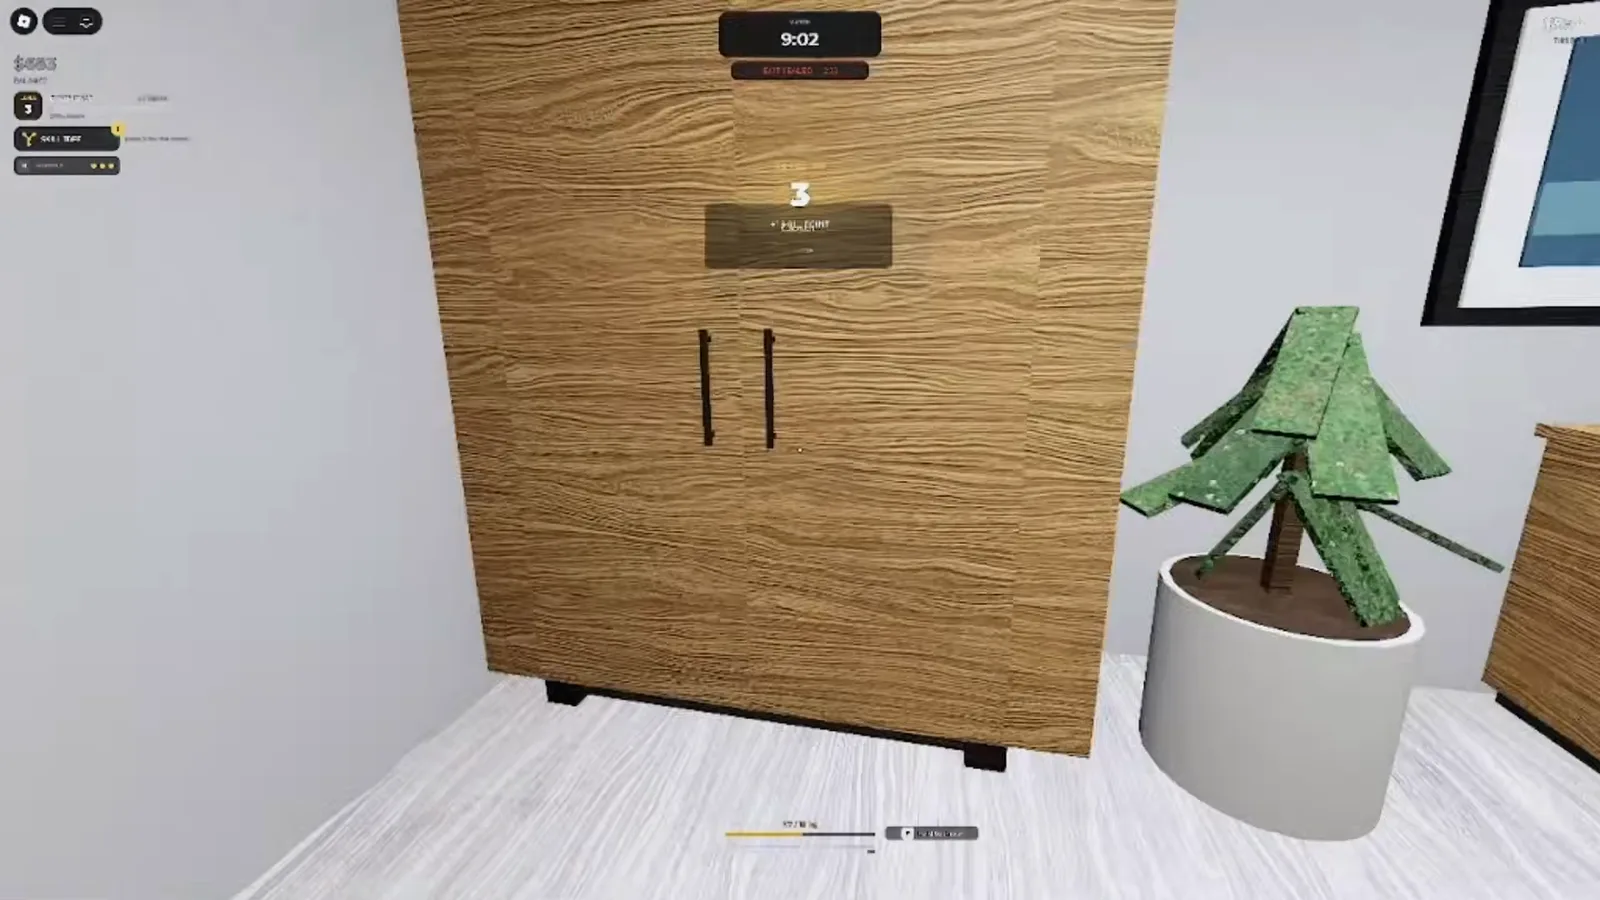
- Never hide where the entity saw you go. Lockers buy time, not safety.
- Drop cargo, not the run. A chase with a full bag is a choice; drop it and reset the race.
- Don’t throw loot at the entity. Thrown items deal zero damage — observed on camera.
- Spend your first skill point on stamina recovery. The only confirmed node, and escapes are sprints.
- Vote the American Dorm while you’re learning. Its multiple exits forgive mistakes the other maps punish.
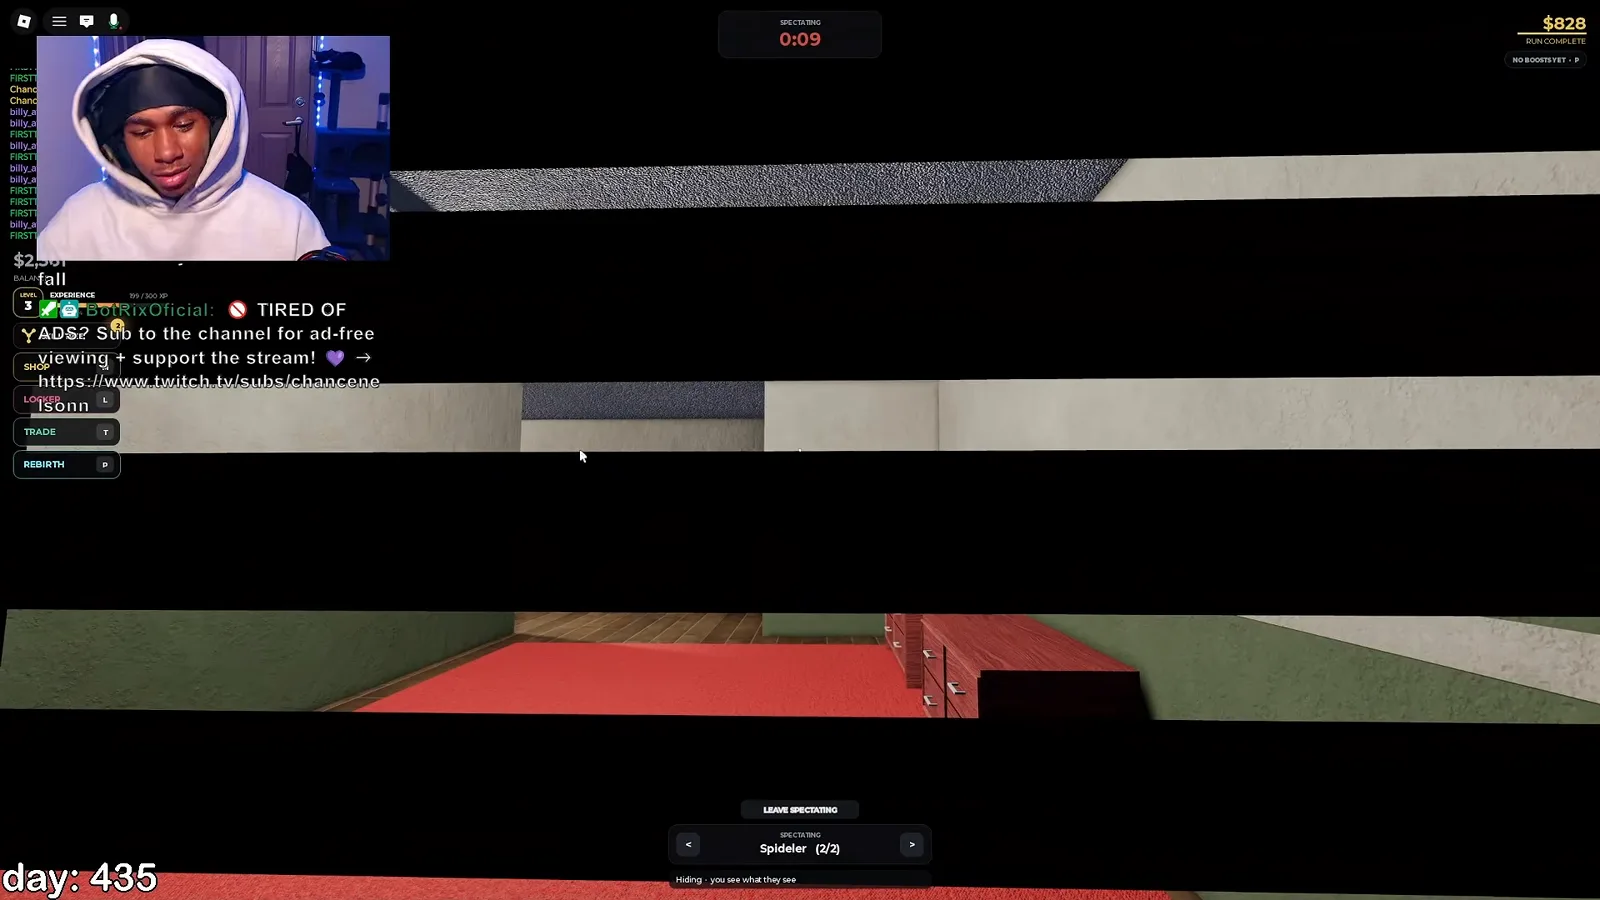
- Assume dead players are watching. Spectators have been observed reporting hiding survivors to the entity.
How do you stay off the entity’s radar?
The detection rules, because they decide everything else:
- Footsteps carry. Crouch to cut them; run only when you’re already spotted.
- Your voice carries. The microphone indicator at the bottom of the HUD means the game is listening — humming, arguing with friends, and emote whistles have all been called out by entity players mid-chase.
- Your flashlight beam carries. Visible from angles you can’t see back; kill it before you hide.
- Knocked-over objects carry. A blundered chair is as loud as it looks.
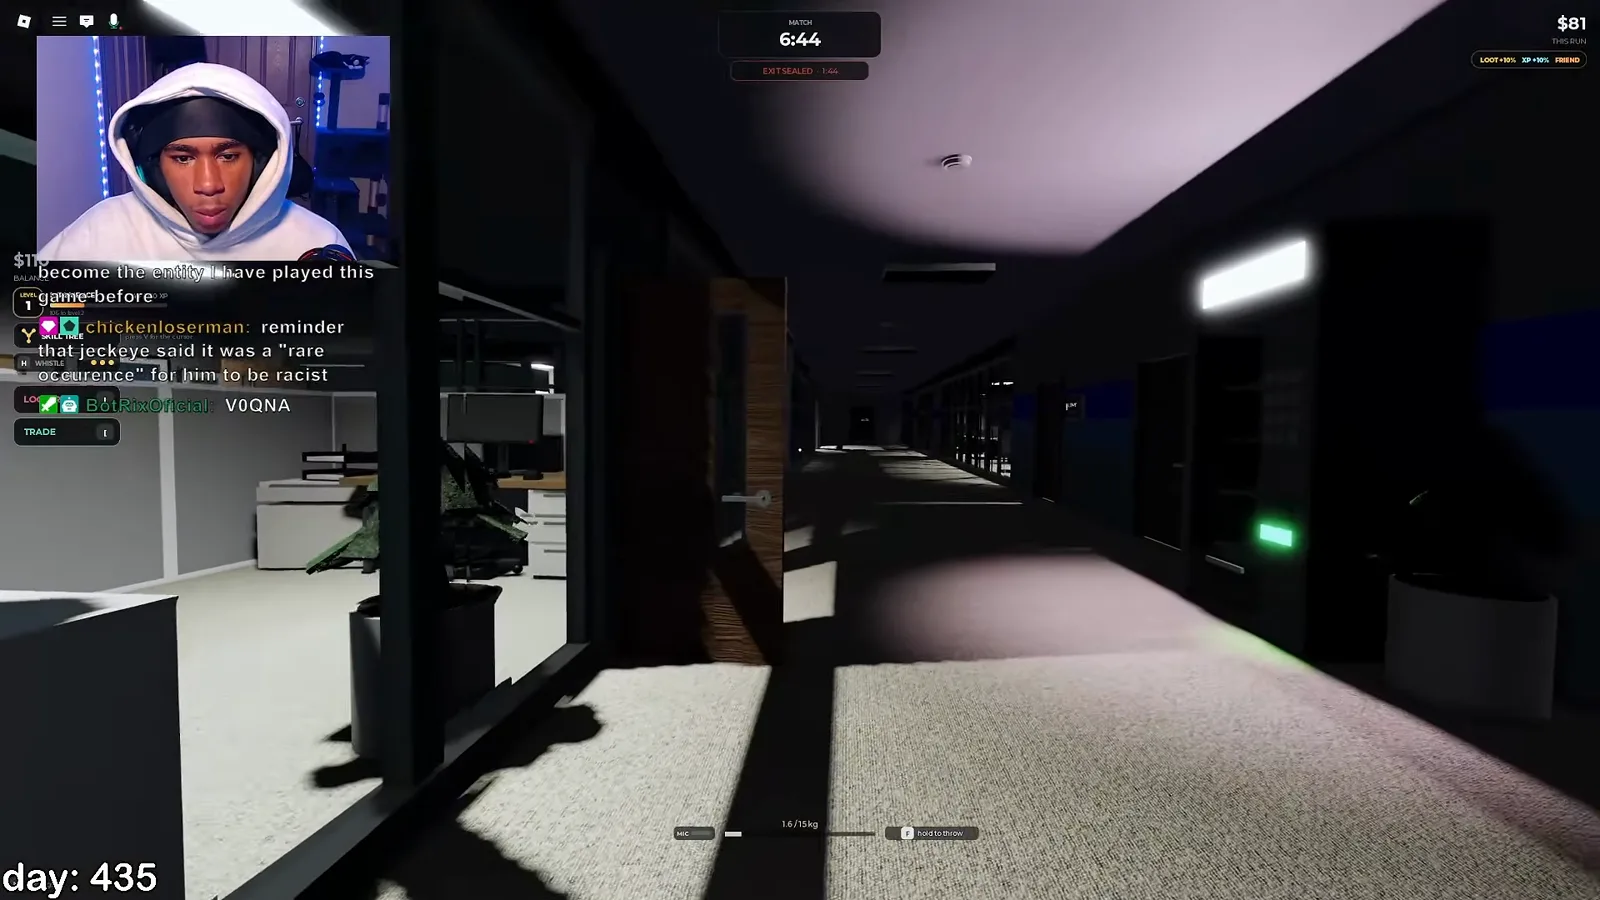
One more leak vector most players forget: spectators. Dead players watch the match and have been seen feeding hiding positions to the entity. Late in a round, assume your spot has an audience and keep repositioning instead of nesting. Darkness is not a shield either — during the FULL BLACKOUT rare event the game itself warns “It sees in dark. You don’t.” The hiding guide rates every spot honestly, and the beginner guide covers the full match loop around these rules.
What should you grab first — and what should you drop?
The route that banks cash:
- Phone — the official cheapest item, your risk-free opener every run.
- Small valuables — the watch has sold for $64; tablets barely register on weight.
- Mid-tier money — laptops at $35–$332 depending on the match, encrypted hard drives around $150–$156.
- Rarity tags — a Rare or Mythic label jumps the queue; rarer pays more, officially.
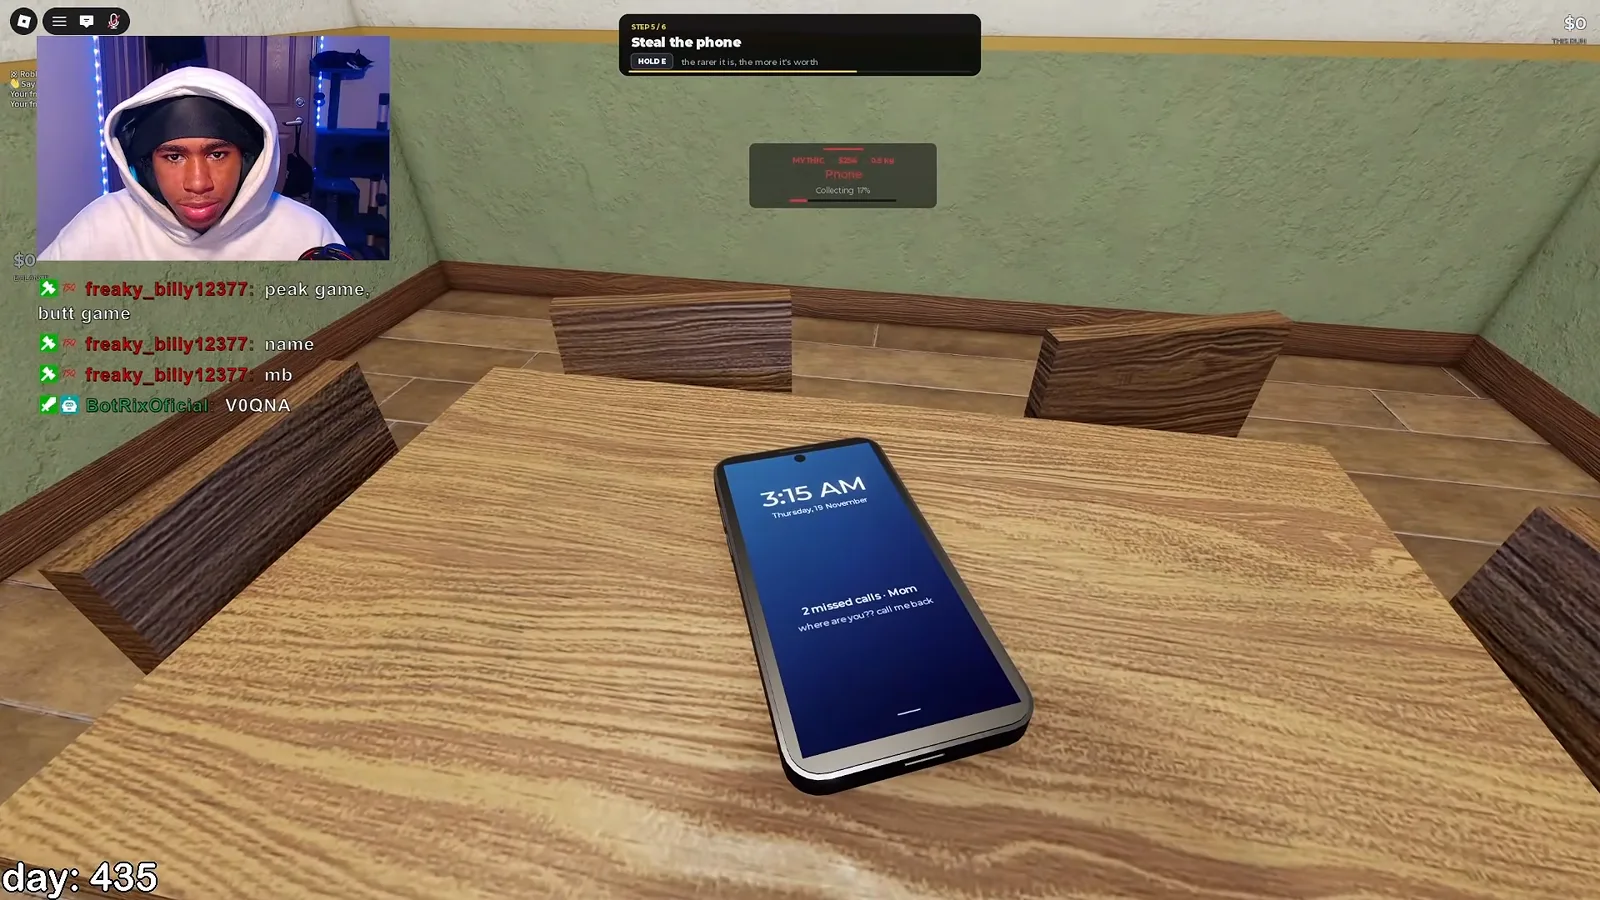
The drops: the mini fridge makes you 50% slower — the single biggest confirmed penalty in the game — and the microwave weighs 11 kg for a payout that rarely justifies the walk. Big furniture and lab sample cases eat weight for unclear returns. And the screwdriver is not loot: it cannot be sold, because it is the tool that unscrews vent covers. Carry it for the escape option, not the payout. Full prices for everything seen on screen live in the value list, and the complete route is in the best loot guide.
When should you run for the exit?
The exit stays sealed at the start of every match and opens on a countdown — and that clock, not greed, is your real loot limit. Three timing rules:
- Treat the sealed phase as low-risk looting. The entity is somewhere, but the stakes are small — take the openers early.
- Stop looting when the countdown opens the door. Being loaded stops being clever the moment escape is possible. Position instead of adding.
- Watch the clock, not your balance. The HUD total in the top-right is a promise, not a payment — die inside and it wipes. One observed run banked about $810 by leaving exactly when the door opened.
Which tips change depending on the map?
The grab order never changes; the risk does. On the American Dorm, confirmed multiple exits make greedier routes survivable — the right vote while you’re still learning the game. In the Office, the upstairs floor concentrates heavy valuables with a limited way down — never get caught up there loaded. In the Facility, the server rooms hold the high-value encrypted hard drives but are the community’s most-reported death zone: one fast, quiet pass, no lingering. The maps guide routes all three.
How do you survive The Locust and The Hollow?
Four entities exist per the official description; two are named, and they hunt differently:
- The Locust is the audio hunter. Stairwells are broadcast booths — crouch them, never sprint them. Its whole kit is your sound, so the mute-and-crouch discipline above is the direct counter. Full file: The Locust.
- The Hollow is the tall crawler whose player sees far less of the screen. Its weakness is space and broken line-of-sight — doors, corners, furniture — so never share a long hallway with it. Full file: The Hollow.
Against either one, the shared rule is distance and silence, not confrontation — the tier list profiles both by hunting style, since no official entity stats exist.
Which upgrades are worth your first cash and skill points?
Skill points: faster stamina recovery, every time, for now. It is the only node confirmed on screen, it has multiple ranks, and it pays every single match — escapes are sprints, and you sprint hardest weighted down. Spend between matches, before you queue, not after a loss. The skill tree guide tracks what’s confirmed, and the rebirth guide covers the ten rebirths the official description promises.
Cash: the 200-coin barricade kit is a reasonable buy once you’re earning consistently — it stretches a chase, though the entity has been seen ripping doors open. Gadgets and energy drinks exist in the shop, but their effects are undocumented, so don’t budget around them. And the honest fastest-cash answer in any Roblox game — codes — currently comes back empty: the codes page lists none as active.
Which popular Steal Or Die tips don’t actually work?
Four pieces of folk wisdom that observed play has already retired:
- “Throw something at it.” A thrown hit dealt literally zero damage. You only dropped your payout.
- “Lockers are safe.” The entity has been shown dragging survivors out of them — more than once. A locker is a delay, and only if you entered unseen.
- “Stand still and it leaves.” The official art warns “DON’T MOVE: DON’T BREATHE” for a reason — hiding is a pause button, not a save point. Use the pause to reposition.
- “Darkness hides you.” During FULL BLACKOUT the game warns that it sees in the dark and you don’t. Blackout plus flashlight discipline is when light rules matter most.
Put together, the meta is short: be quiet, be light, be out the door on time. Everything else — hiding tech, map routing, upgrade order — serves those three. More tips land on the guides hub as the game updates.
Related Articles
bosses
The Hollow in Steal Or Die (Roblox): Counter the Tall Crawler
The Hollow is the second named Steal Or Die entity: a tall crawler whose player-side vision is heavily restricted. Official card, counterplay, and the 1-of-3 note.
bosses
The Locust in Steal Or Die (Roblox): Beat the Audio Hunter
The Locust is one of two named Steal Or Die entities — an audio hunter that hears footsteps, voice, and your flashlight. Counterplay and monster-side notes inside.
codes
Steal Or Die Codes (October 2026, Roblox): No Active Codes Yet
No working Steal Or Die codes exist as of October 11, 2026 — Vantage Gameworks has not released any. Here's how redemption will work and where codes drop first.
Was this helpful?
Thanks for the feedback!