
Steal Or Die American Dorm Map Guide: Two Floors, Extra Exits
A floor-by-floor Steal Or Die American Dorm walkthrough: bunk bedrooms, $50 textbook stacks, the interior staircase, confirmed extra exits and the mini fridge trap.
FAQ
How many exits does the American Dorm have?
Is the American Dorm the easiest Steal Or Die map?
What loot spawns in the American Dorm?
Is the mini fridge worth carrying in the Dorm?
What is the staircase rule in the American Dorm?
The American Dorm is the residential map — bunk beds, textbooks, mini fridges — and the only Steal Or Die map where more than one exit is confirmed on footage. That structural advantage is why the maps overview calls it the most forgiving of the three: when the entity camps your planned door, the Dorm hands you a second one. This page walks both floors and the staircase between them, with the prices the source runs actually paid.
What is the ground floor of the American Dorm like?
A corridor loop with signed doors and common rooms off it. The source footage shows a “Storage” door, yellow wall lamps, a red carpet strip, and a lounge with sofas — rooms that read as filler until the endgame, when a Storage room is a hiding spot and the lounge is cover. One door on this corridor is marked MAINTENANCE — NO ENTRY: community footage treats it as off-limits filler, and what’s behind it has never been shown, so spend your minutes elsewhere.
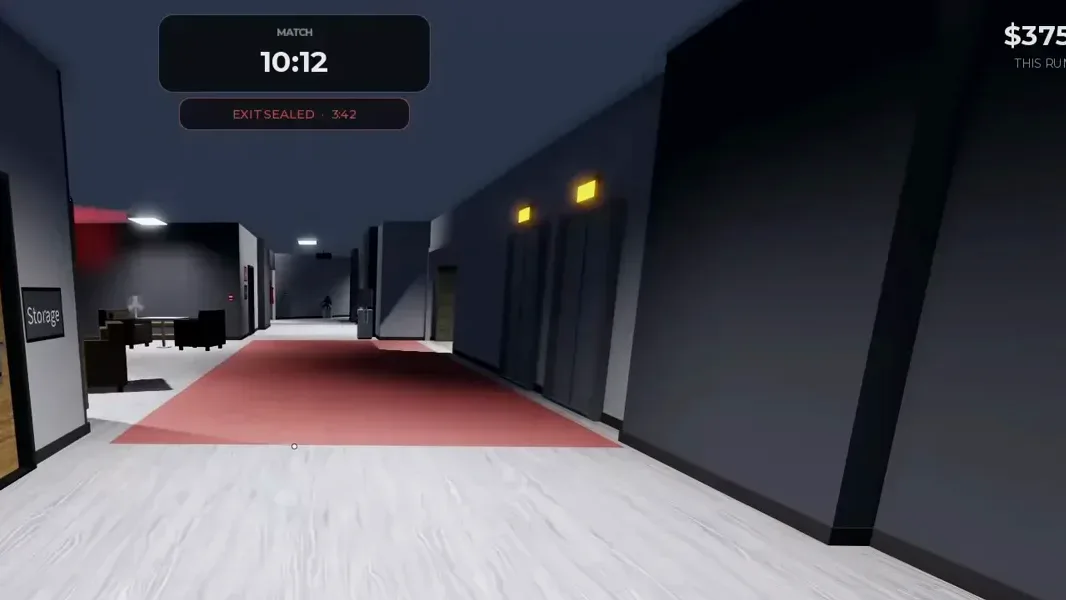 The ground corridor: a signed Storage door, wall lamps, and a lounge off the left. See 10:58 of the source video.
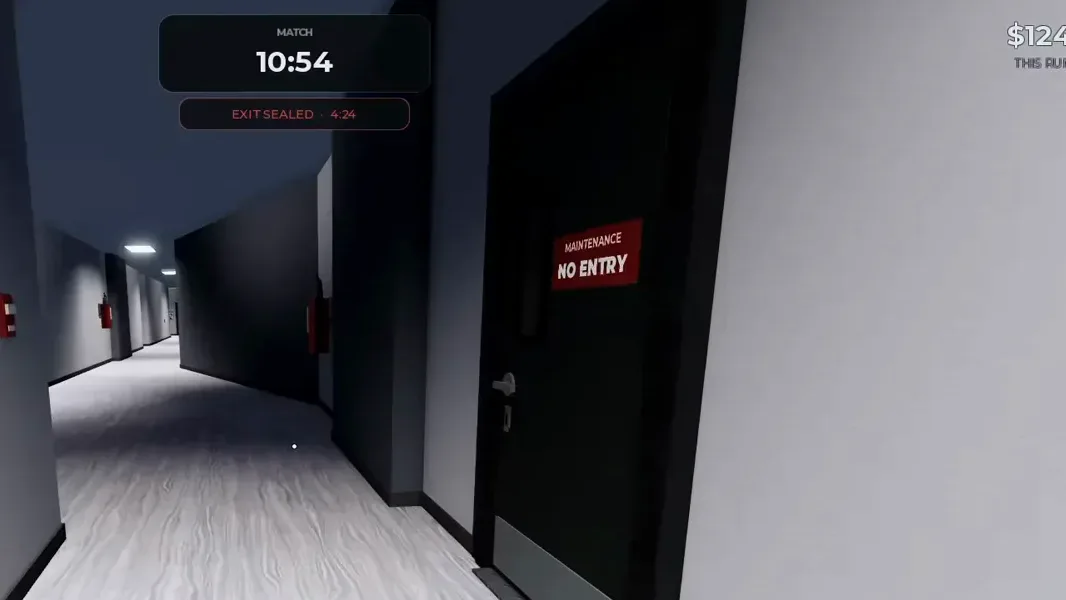 The marked maintenance door — no confirmed loot behind it, so route around it. See 10:22 of the source video.
What loot is in the Dorm bedrooms?
Student life, stacked on bunks. The signature item is the textbook stack — UNCOMMON rarity at $50, seen mid-collect on a bed with the price printed on the pickup. Bedrooms repeat this pattern down the hall: bunk, pillow, nightstand, small money.
 A textbook stack mid-collect on a bunk — the Dorm’s repeating small-money pattern. See 0:34 of the source video.
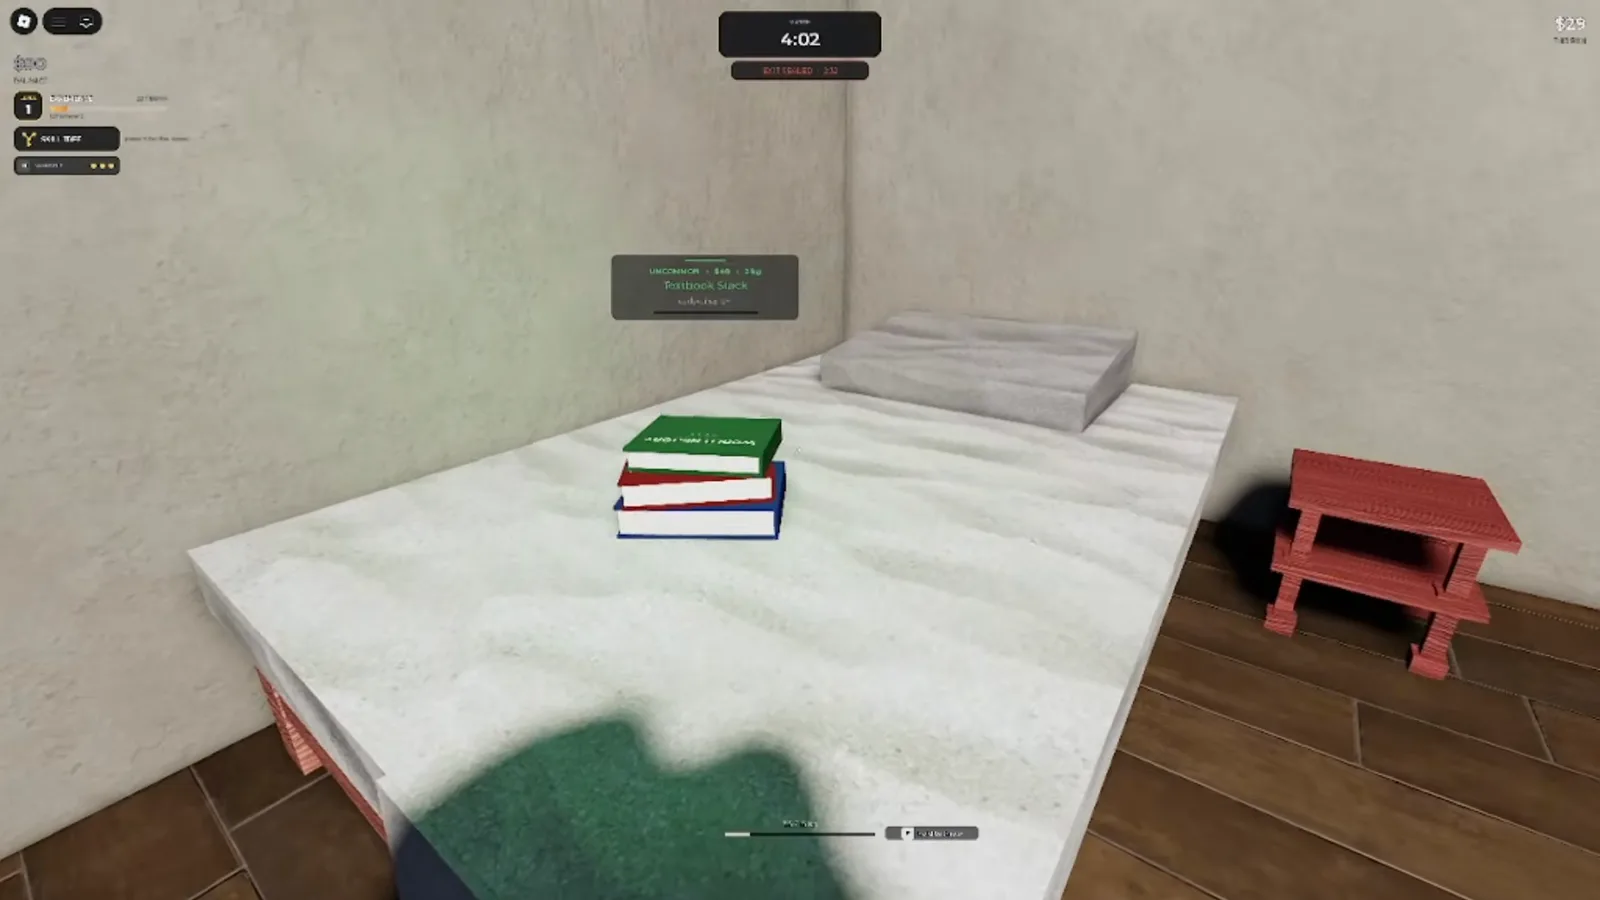 The price on the pickup: UNCOMMON, around $50, light enough to stack. See 0:41 of the source video.
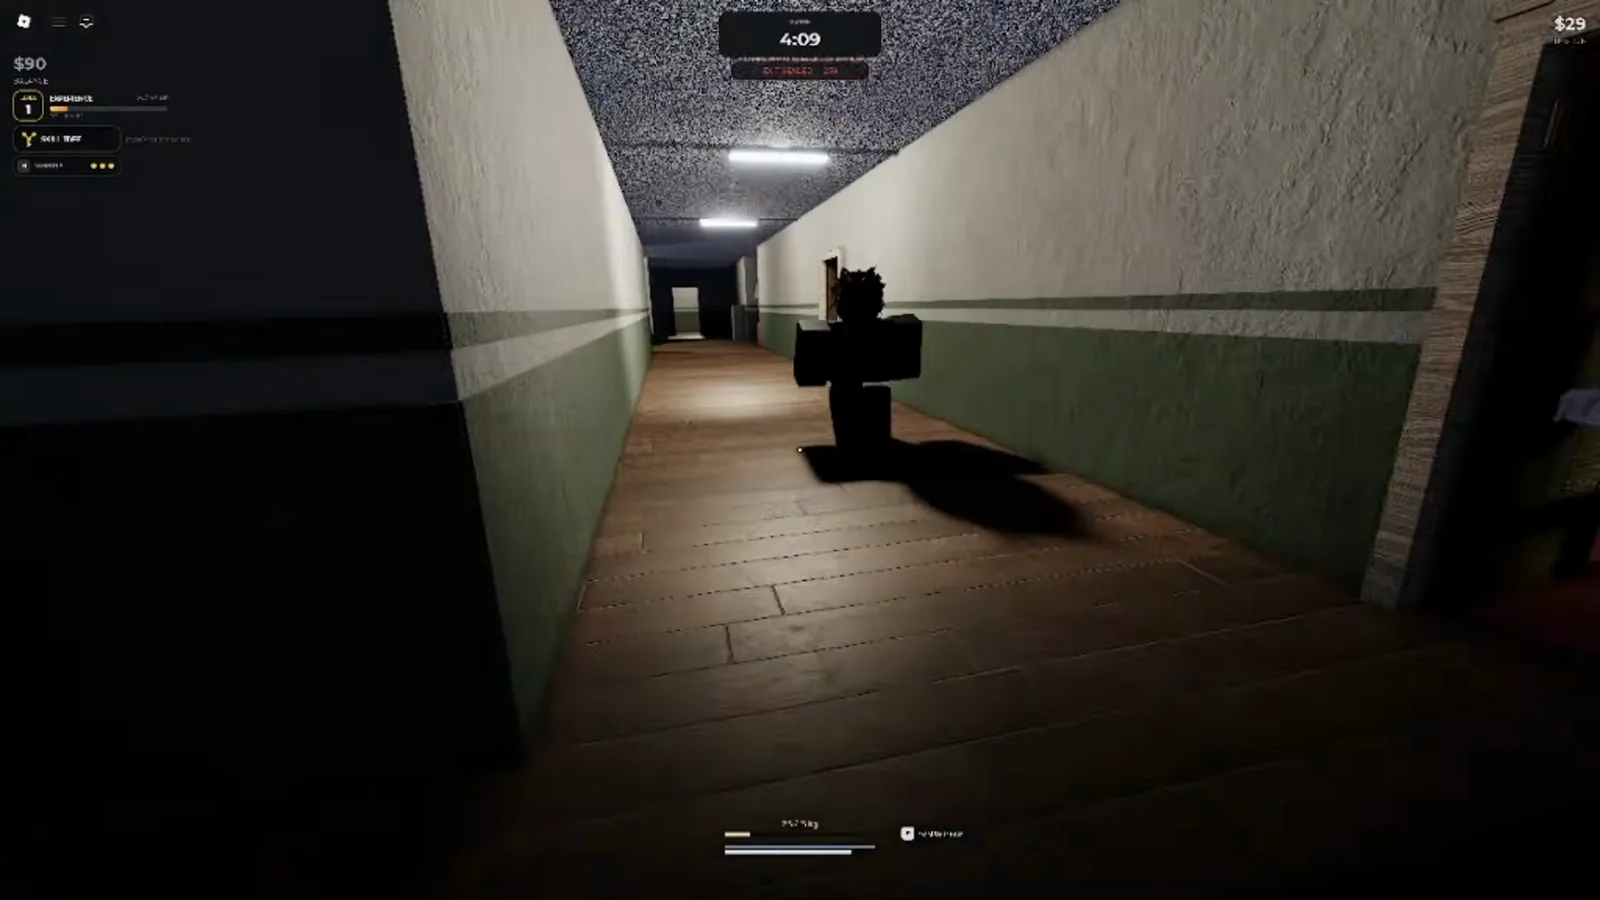
The bedrooms are also where the Dorm teaches its one hard lesson. From a top-bunk vantage in the source footage, the entity is already working the room — tall, dark, and between the bed frames. The upstairs is profitable and patrolled.
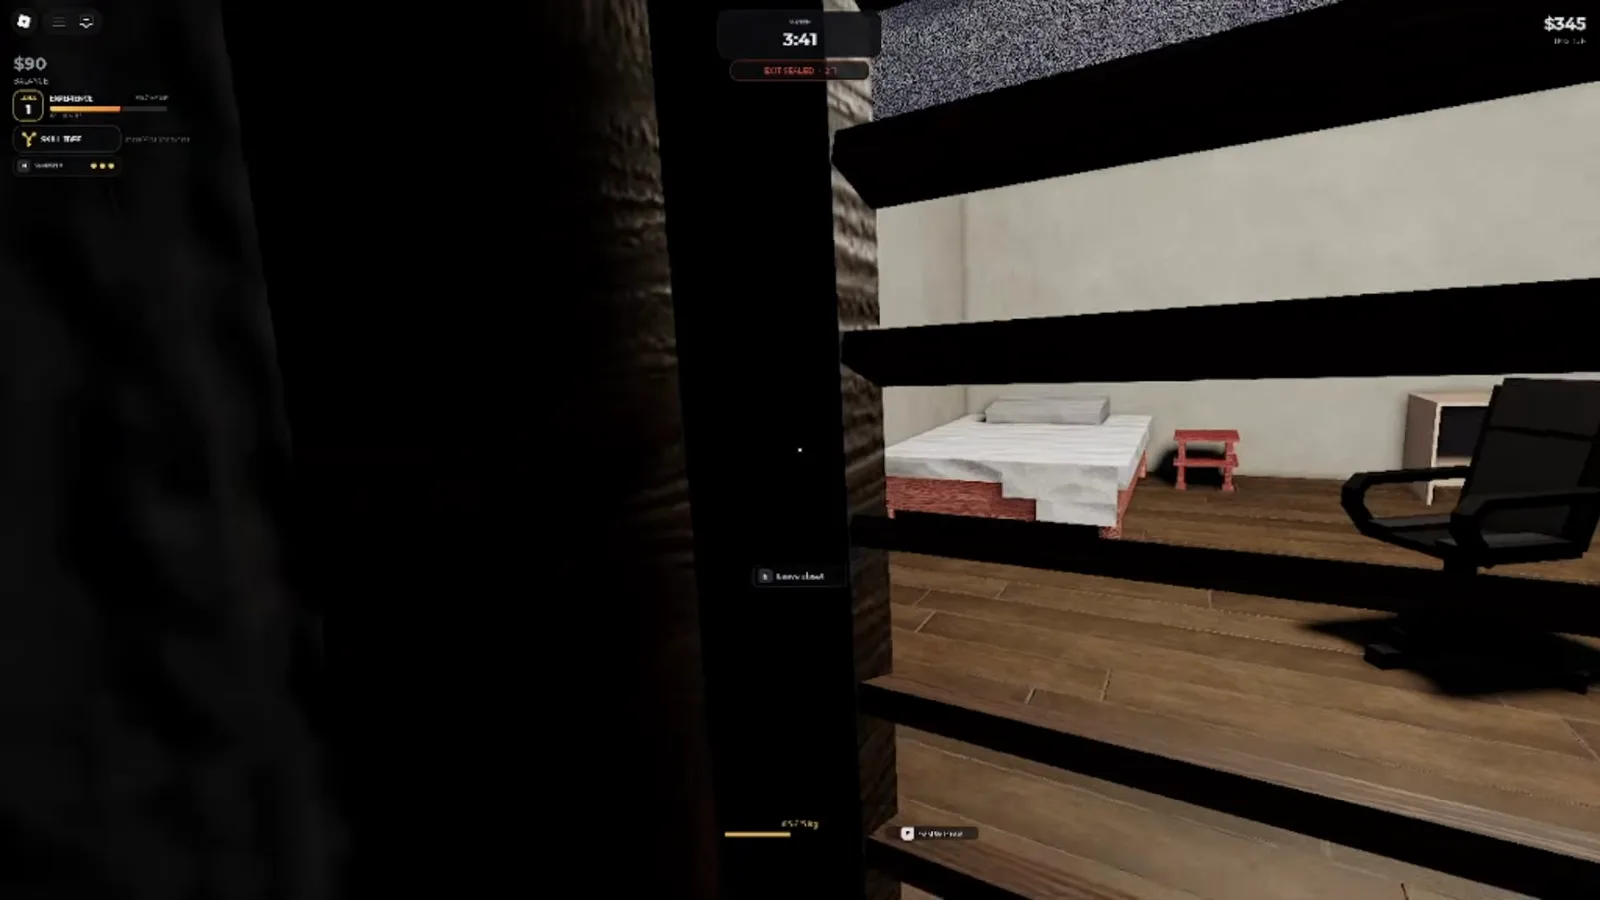 A bunk bedroom mid-loot — desks, chairs, and doors worth checking before moving on. See 1:02 of the source video.
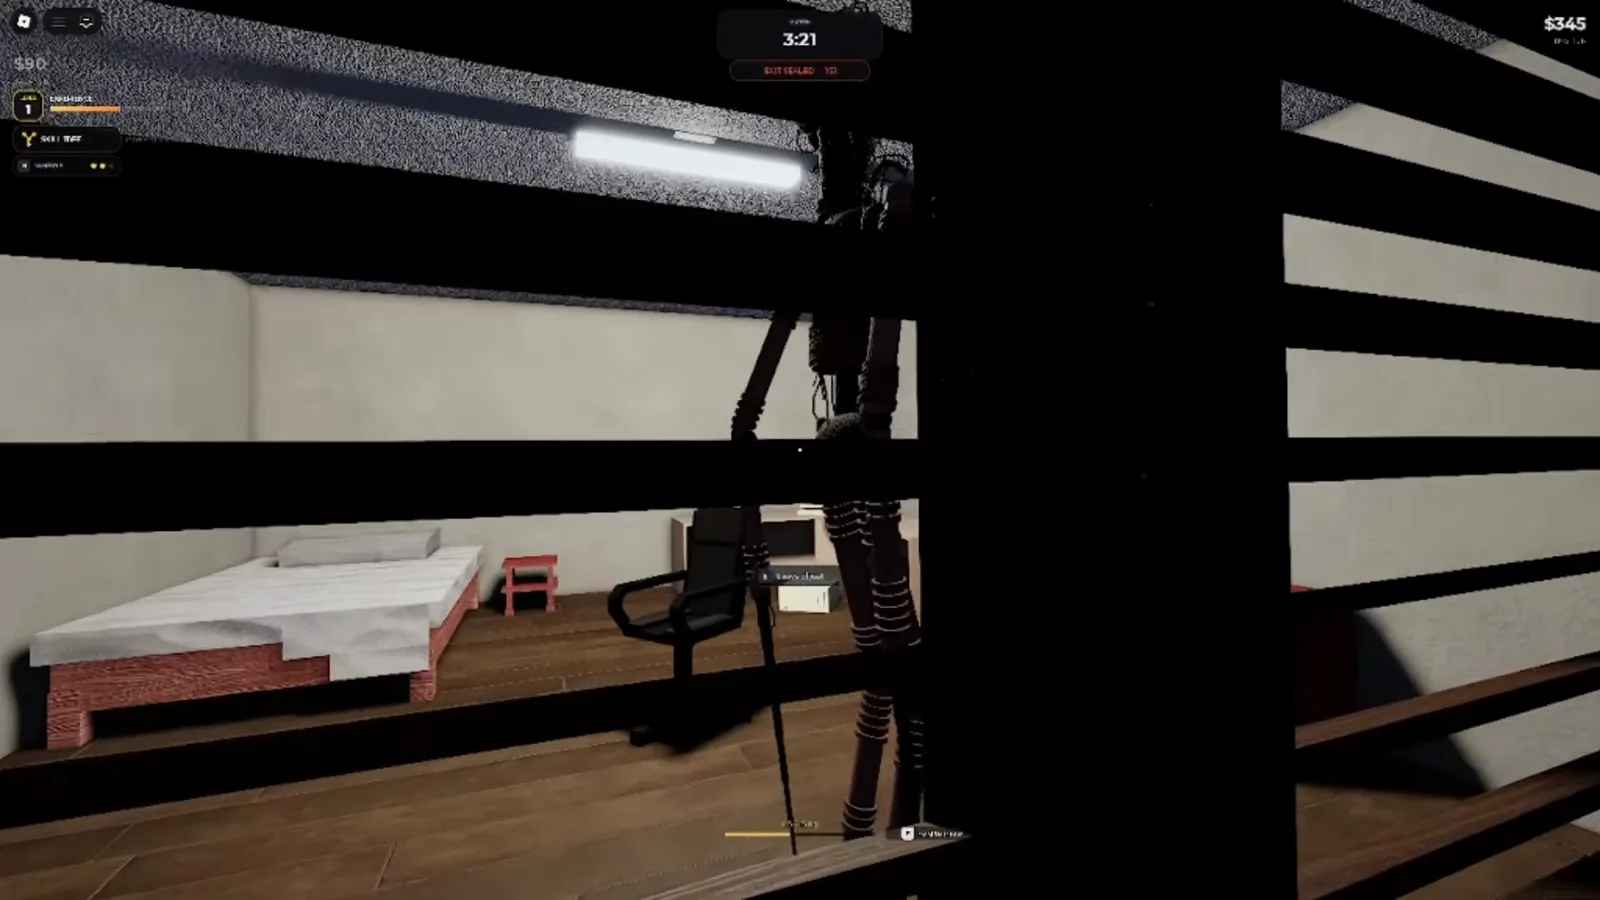 The lesson frame: the entity checks bedrooms — visible here between the bunks from a top-bunk vantage. See 1:22 of the source video.
Beyond textbooks, the confirmed Dorm grabs from the source runs: a common phone that rolled $97, a camera (“I got new equipment”), a $66 leather bag, and the headliner — a rare projector on a run that banked about $1,500. For how those prices compare game-wide, the value list keeps the running table.
How does the Dorm staircase work?
One interior staircase connects the two floors — white brick, metal railing, green trim — and it is the only way up or down. The rule that matters: the staircase is a checkpoint, not a highway. Go up light and early while the map is quiet, and never be upstairs, heavy, when the exit countdown starts, because every bedroom route ends at those same steps.
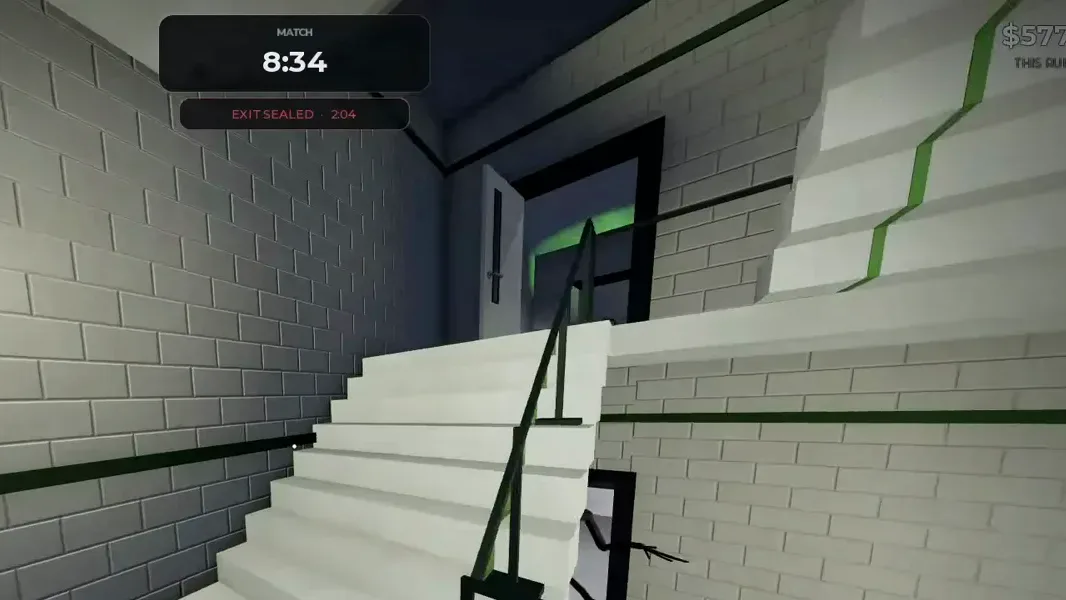 The Dorm’s interior staircase — the single choke point between floors. See 21:40 of the source video.
If a chase catches you upstairs anyway, the hiding guide covers the delay options — lockers the entity can open, vents behind a screwdriver — and the honest truth that hiding buys time, not safety.
Where are the exits in the American Dorm?
More than one — that is the map’s identity. The clearest proof on footage is a streamer mid-run, announcing it twice: “I found the exit. I found another exit.” A later source run ended with a third-party discovery in real time — “Oh my god, it is an exit” — as a player made a door work that nobody had planned on. No public footage maps the full exit set, so the working plan is the Dorm’s own priority line from the overview: find both of your exits in the first quiet minute, loot on the way between them, and never carry the mini fridge farther than one exit.
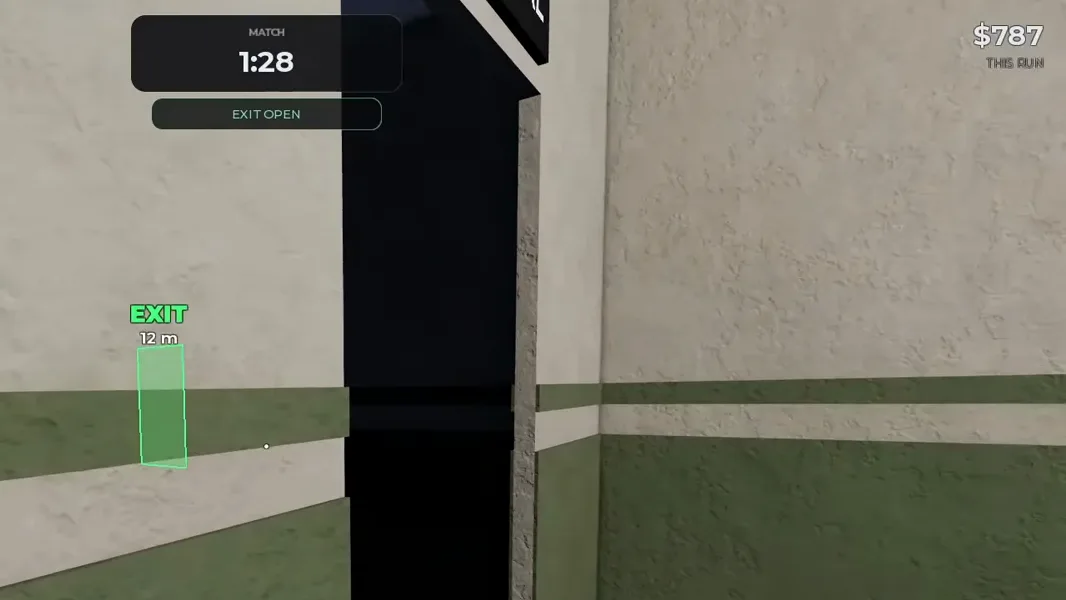 The “it is an exit” discovery as it aired: EXIT OPEN with 1:28 left, the green marker reading 12 m. See 19:58 of the source video.
The fridge warning is not a joke. A streamer grabbed one mid-run, heard the pickup flag a 50 percent slow, and spent the rest of the upstairs loop regretting it — the Dorm’s loot ceiling tempts exactly the greed that weight punishes. The weight-versus-value math lives in the best loot guide.
Who should vote for the American Dorm?
Everyone learning the game, and anyone whose runs keep dying to a camped door. The Dorm forgives the mistake the other two maps punish: a bad entity position at your exit. The trade is a lower ceiling than the Facility’s drive runs and a smaller puzzle than the Office’s two-floor sweep — and if the whole loop still feels new, the beginner guide runs the fundamentals first.
Sources and footage credit
Dorm facts and most screenshots come from two community sessions: Munyecoh’s Steal Or Die run (watch on YouTube) — the source of the exit discoveries, staircase and ground-floor frames — and Samwel’s session (watch on YouTube) for the bedroom and textbook frames. All prices are per-run observations; values drift match to match.

Steal Or Die American Dorm run with the multiple exit discoveries (community gameplay)
Related Articles
guides
Steal Or Die Full Blackout: What It Does and How to Survive
What the Full Blackout rare event does in Steal Or Die, the exact in-game warning, and how confirmed mechanics apply in total darkness — plus the honest unknowns.
guides
Steal Or Die Facility Map Guide: Drives, Server Rooms and Routes
A room-by-room Steal Or Die Facility walkthrough: encrypted hard drive prices, the server-room danger curve, marked maintenance zones, exits and the HUD countdown.
guides
Steal Or Die Office Map Guide: Upstairs, Loot Prices and Exits
A floor-by-floor Steal Or Die Office walkthrough: the upstairs discovery, conference-room hard drives, the 11 kg microwave trap, exits and hiding behind doors.
Was this helpful?
Thanks for the feedback!