
Steal Or Die Office Map Guide: Upstairs, Loot Prices and Exits
A floor-by-floor Steal Or Die Office walkthrough: the upstairs discovery, conference-room hard drives, the 11 kg microwave trap, exits and hiding behind doors.
FAQ
Does the Office in Steal Or Die have an upstairs?
What is the best loot on the Office map?
Is the microwave worth carrying out of the Office?
Where are the exits in the Office?
Is the Office or the American Dorm safer for beginners?
The Office is the biggest of the three Steal Or Die maps and the only one whose defining feature hides in plain sight: the upstairs. The maps overview already frames the trade — better loot upstairs, stairs you have to survive — and one streamer’s discovery run captured both halves in a single sentence: “Oh, there’s an upstairs. That’s why I’ve not heard them all game. This is a big map.” This page walks the building floor by floor, with the confirmed prices and the traps.
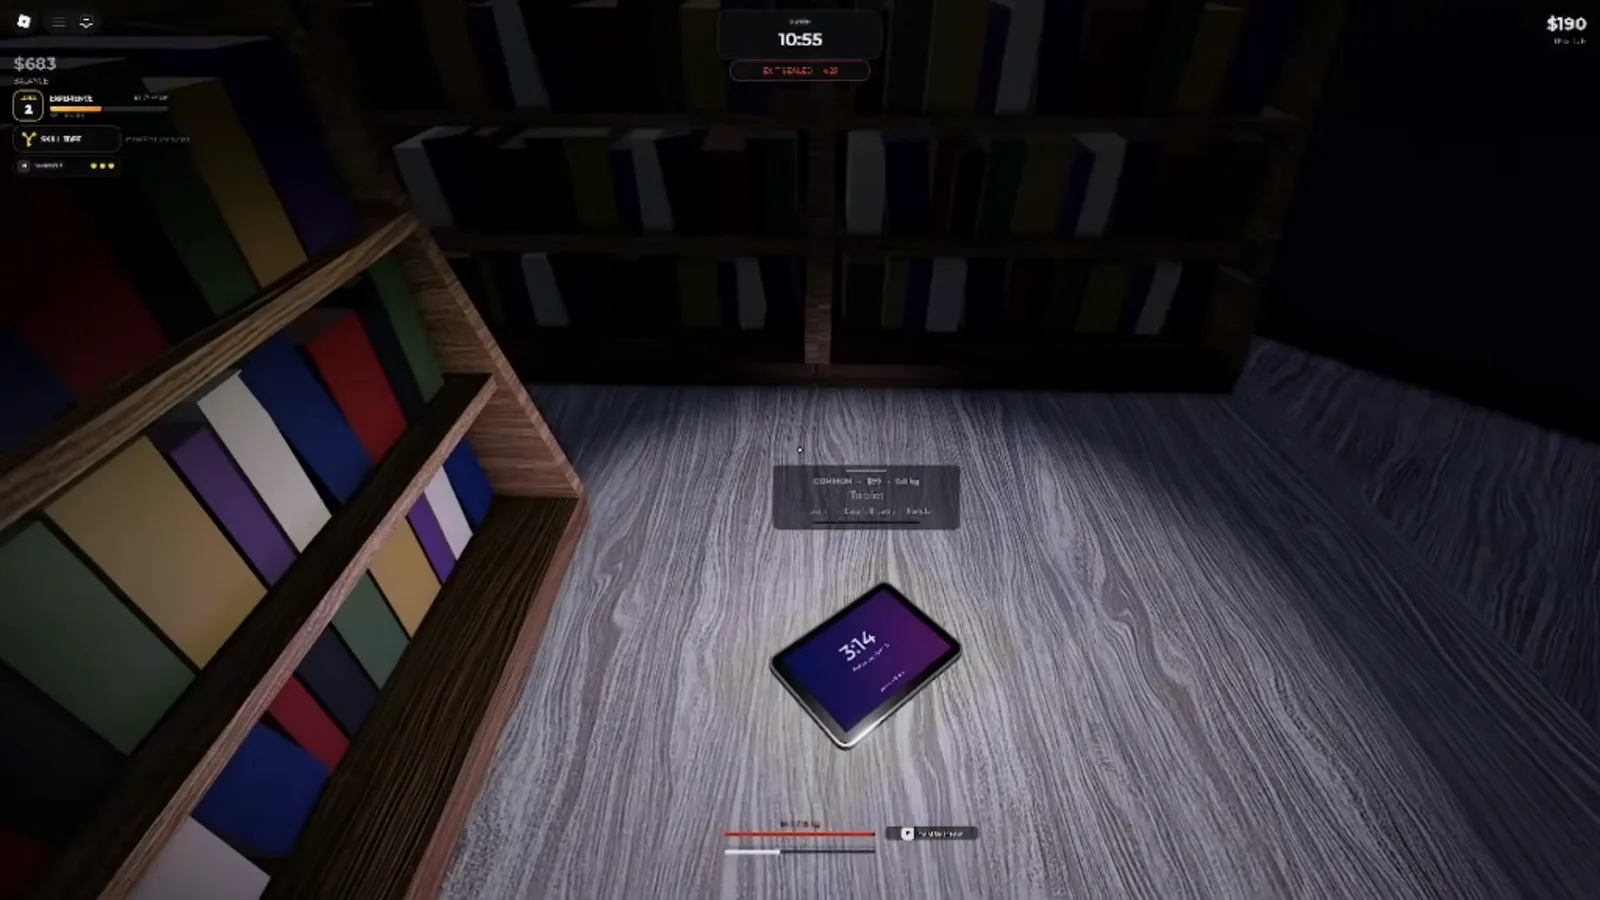 A common-tier tablet beside a bookshelf — typical downstairs money. See 4:02 in the source video.
What should you do in the first two minutes on the Office?
Walk the downstairs. The Office spreads small tech across desk rooms — tablets, mugs, keyboards, desk fans — which is exactly the loot you take while learning the layout, not the loot you chase. Two things to find before anything shiny:
- The real exit. The Office has ordinary doors that read as exits until they aren’t — one streamer ran to a door during the countdown and discovered it went nowhere. The working exit is the one that glows; check, don’t guess.
- The stairwell. It is the only way up and the only way down, which makes it the most dangerous piece of architecture on the map. Knowing where it is matters even if you never climb it.
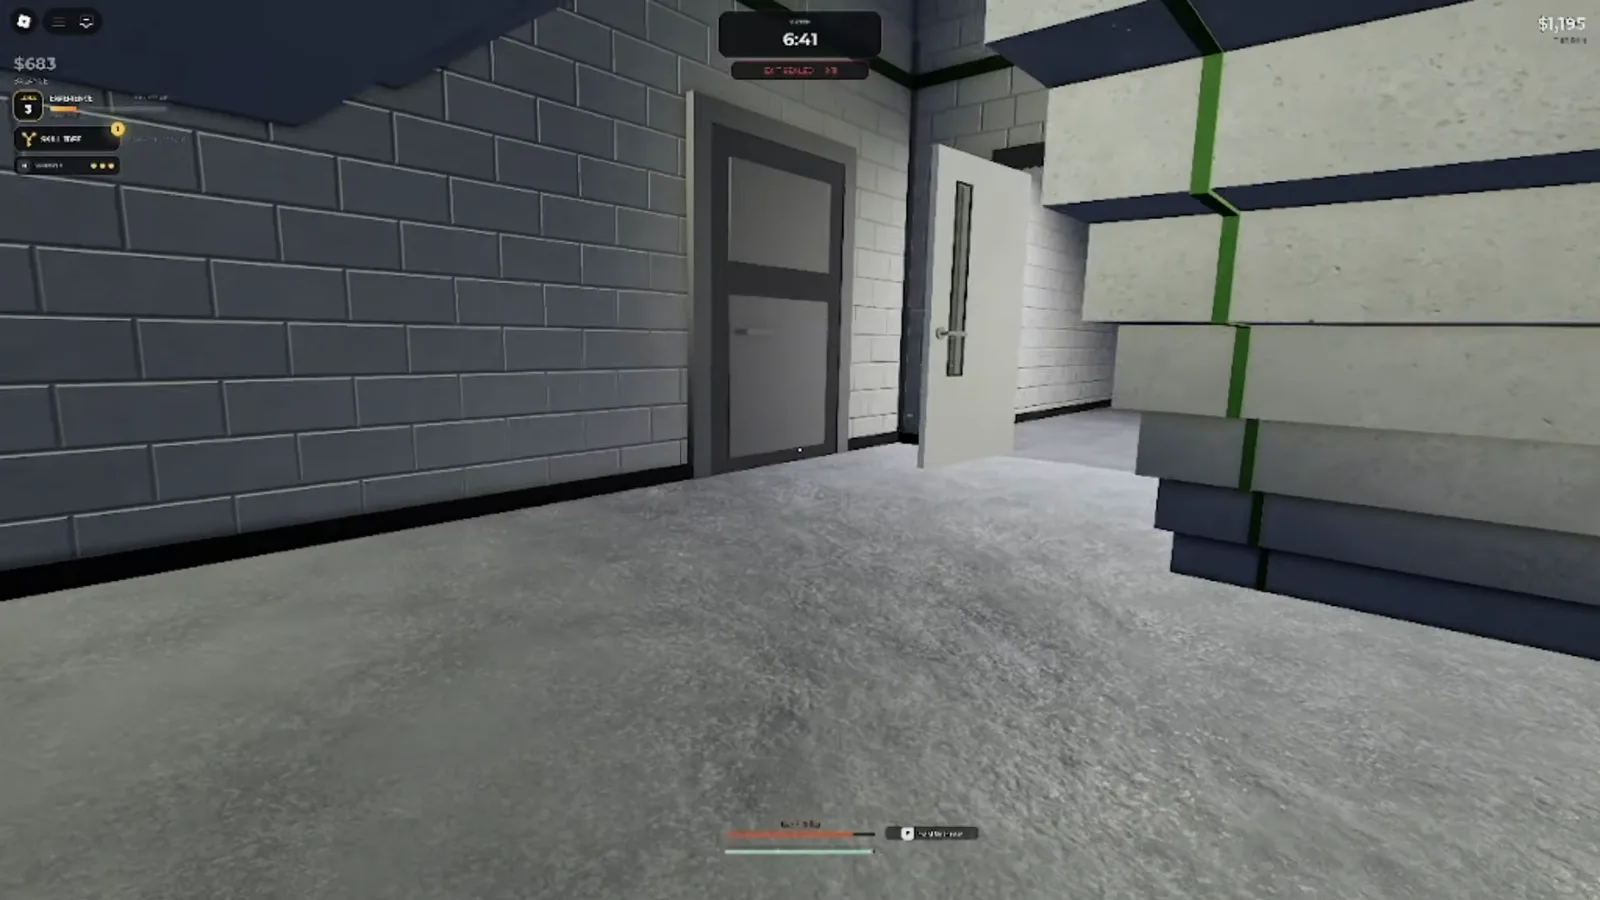 The concrete stairwell — every step you take upstairs is a step you owe back. See 7:22 in the source video.
What loot is downstairs in the Office?
Small tech, and one genuinely good roll. The desk rooms pay in light items you can stack while moving; the break room and kitchen pay in almost nothing — the microwave is the map’s famous bad idea at 11 kg, too heavy to be worth its price. A game controller sits in the same room as a reminder that the small stuff is everywhere.
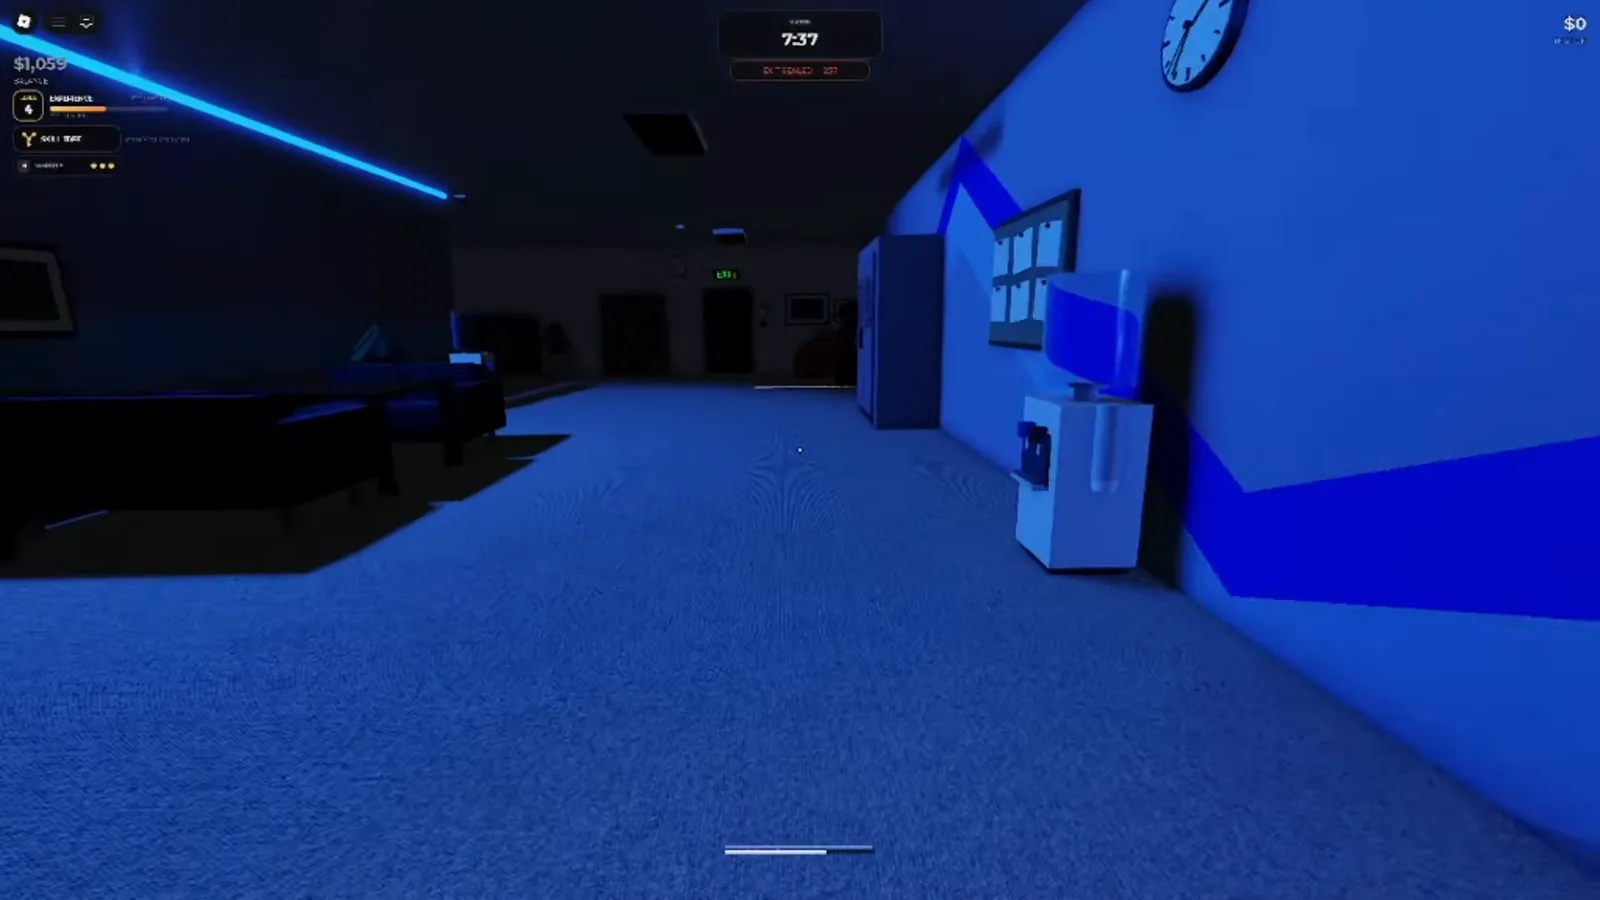 The break room: kitchen counter, fridge, lounge seating — and an 11 kg microwave worth leaving. See 15:01 in the source video.
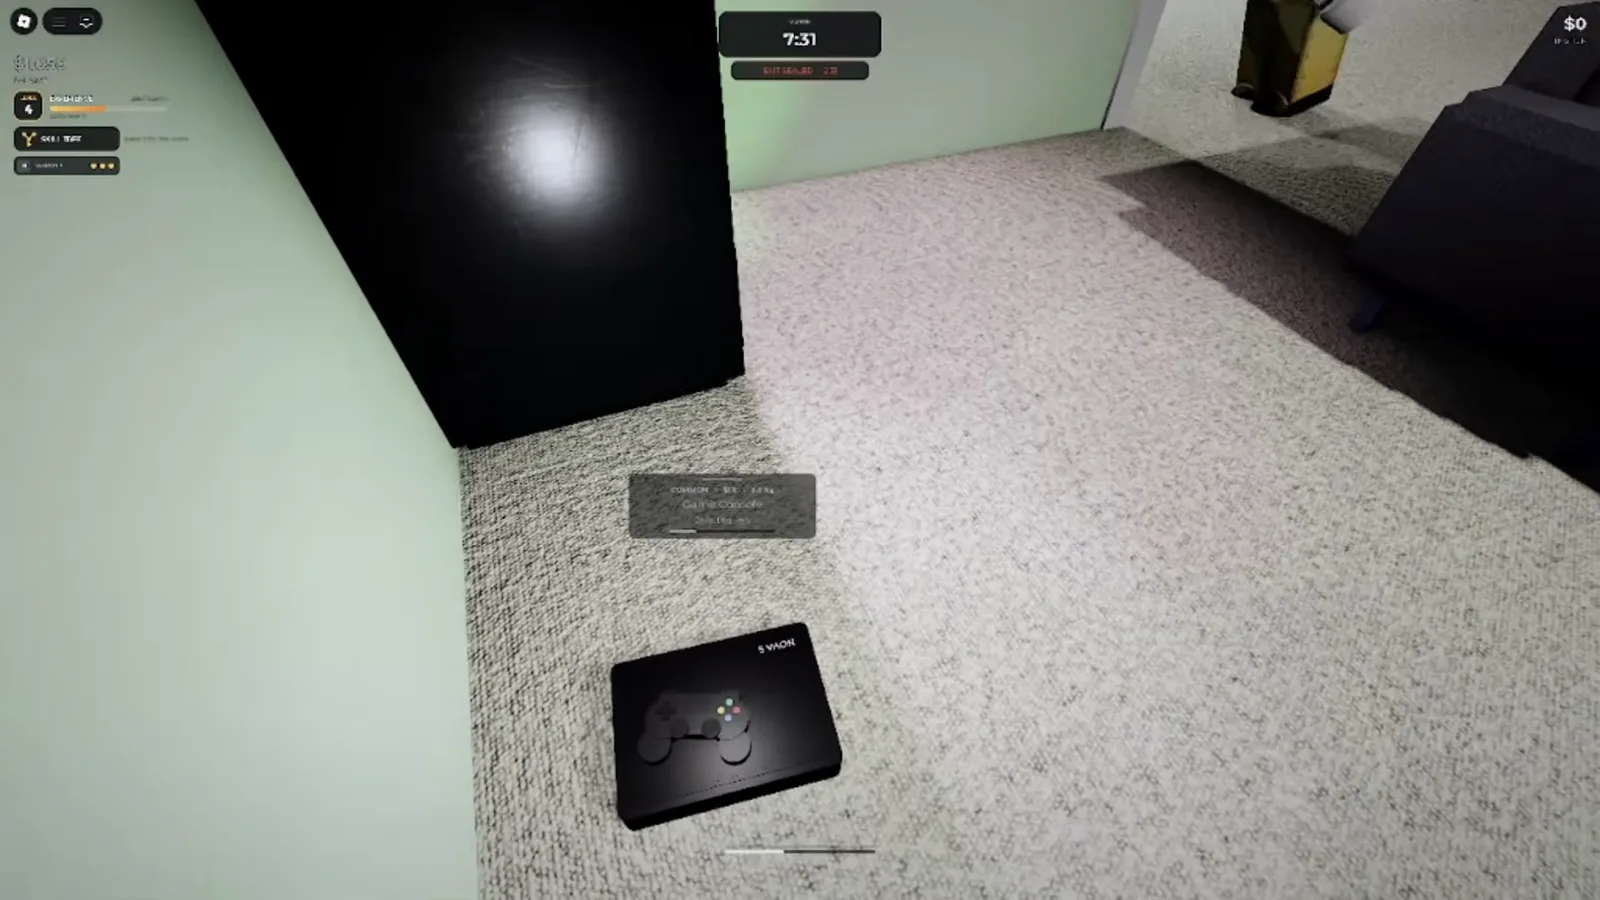 Small tech on the carpet — light pickups that make sense while you’re still mapping the floor. See 15:07 in the source video.
The one downstairs item worth a detour is the desk fan: footage has shown one flagged Rare at $57, and another run priced a fan at $47. Rare-tagged items are worth grabbing on sight — the fan pickup below was mid-collect in an ordinary corridor.
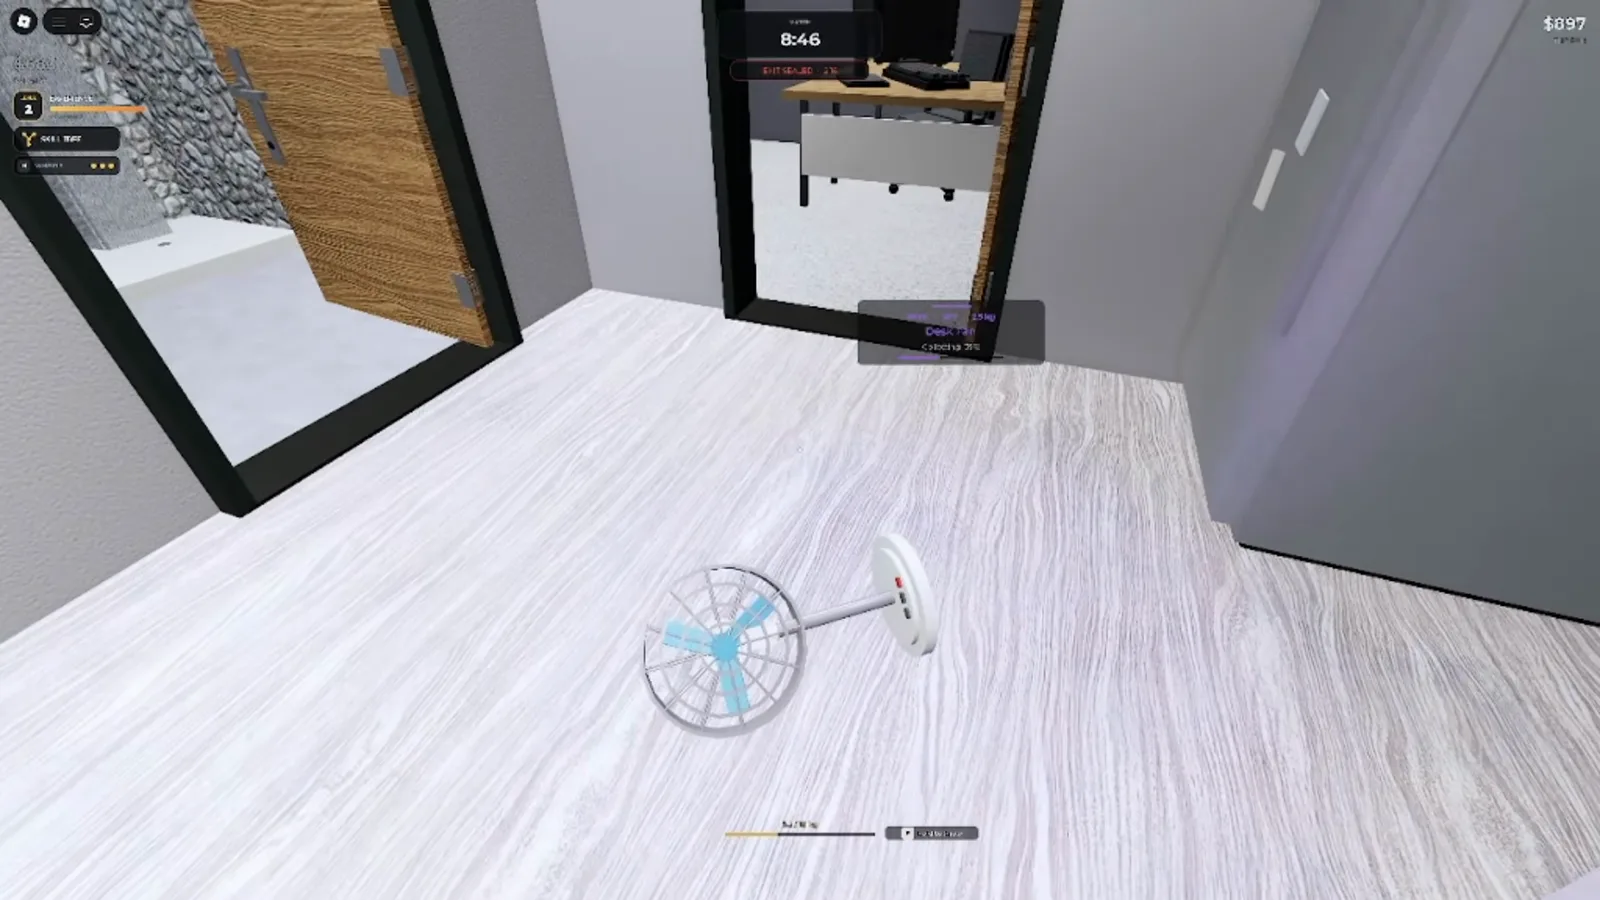 A desk fan mid-pickup in an ordinary corridor — Rare-tagged fans are grab-on-sight loot. See 5:58 in the source video.
Where does the Office pay big?
The conference room. A long table under bright light, covered in laptops and the Office’s confirmed top-tier grab: encrypted hard drives at around $150 each — three of them were picked up across two runs in the source footage, and they also spawn on the Facility, where they roll even higher. An all-in-one PC drew the strongest one-item review of any loot in the game’s short life: it was “practically made whole last game” — one item out-earning an entire previous run.
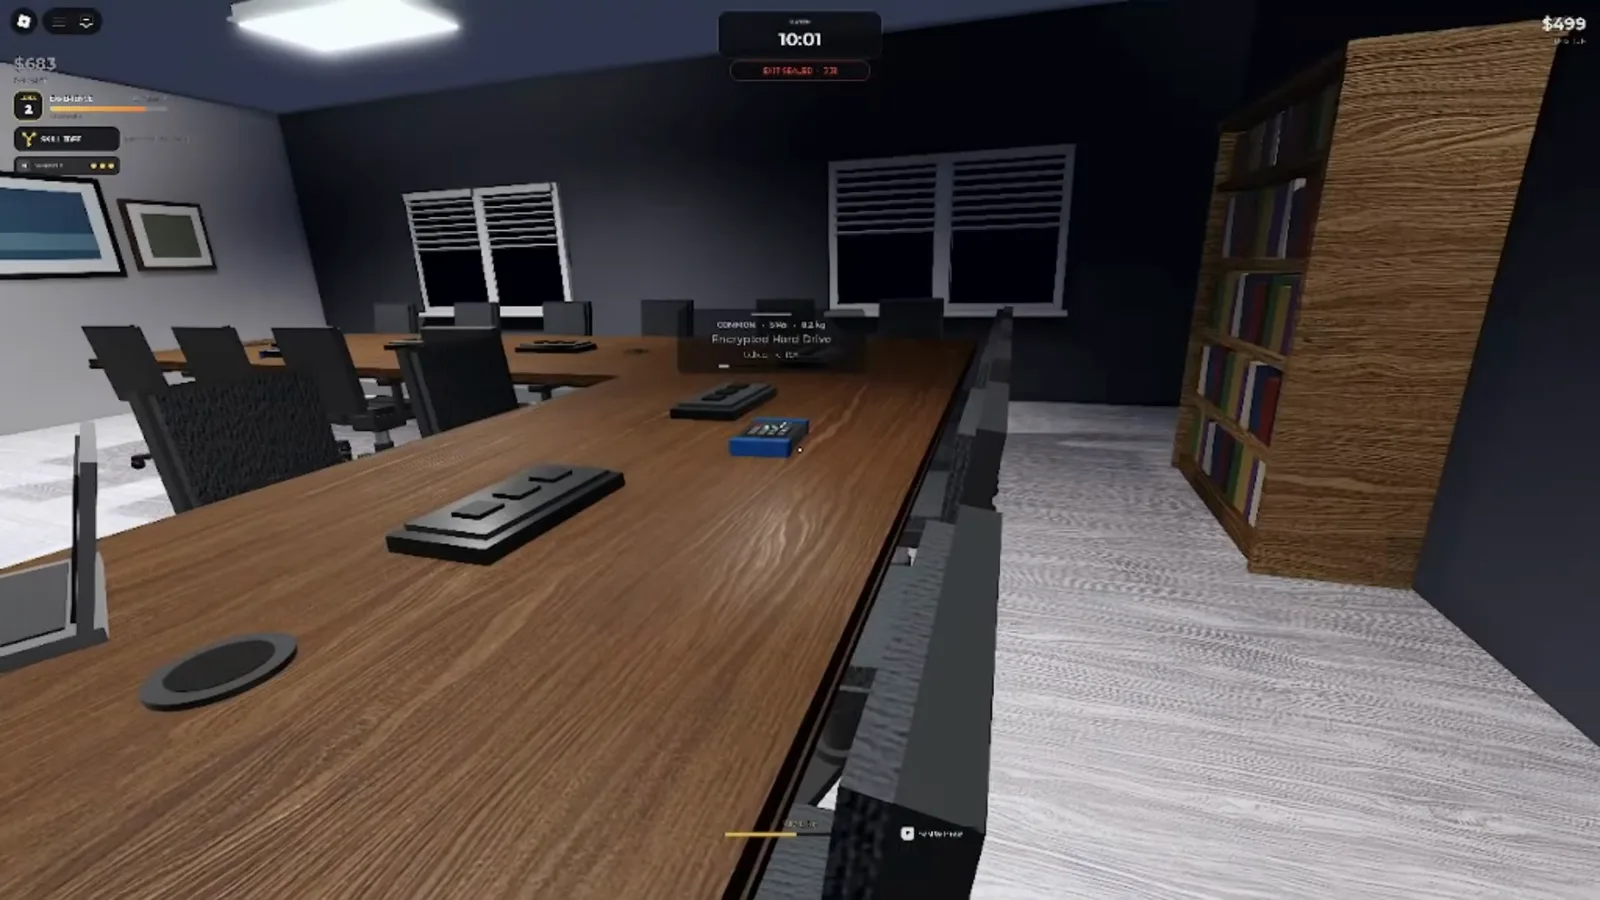 The conference room table — laptops and encrypted hard drives, the Office’s signature payout. See 4:43 in the source video.
Beyond the conference room, the floor plan keeps surprising: a bookshelf-lined lounge that reads like a small library, and a blue-lit side room with an acoustic guitar leaning against the desk. Guitars are mid-value, light, and fast to grab on a loop back toward the exit.
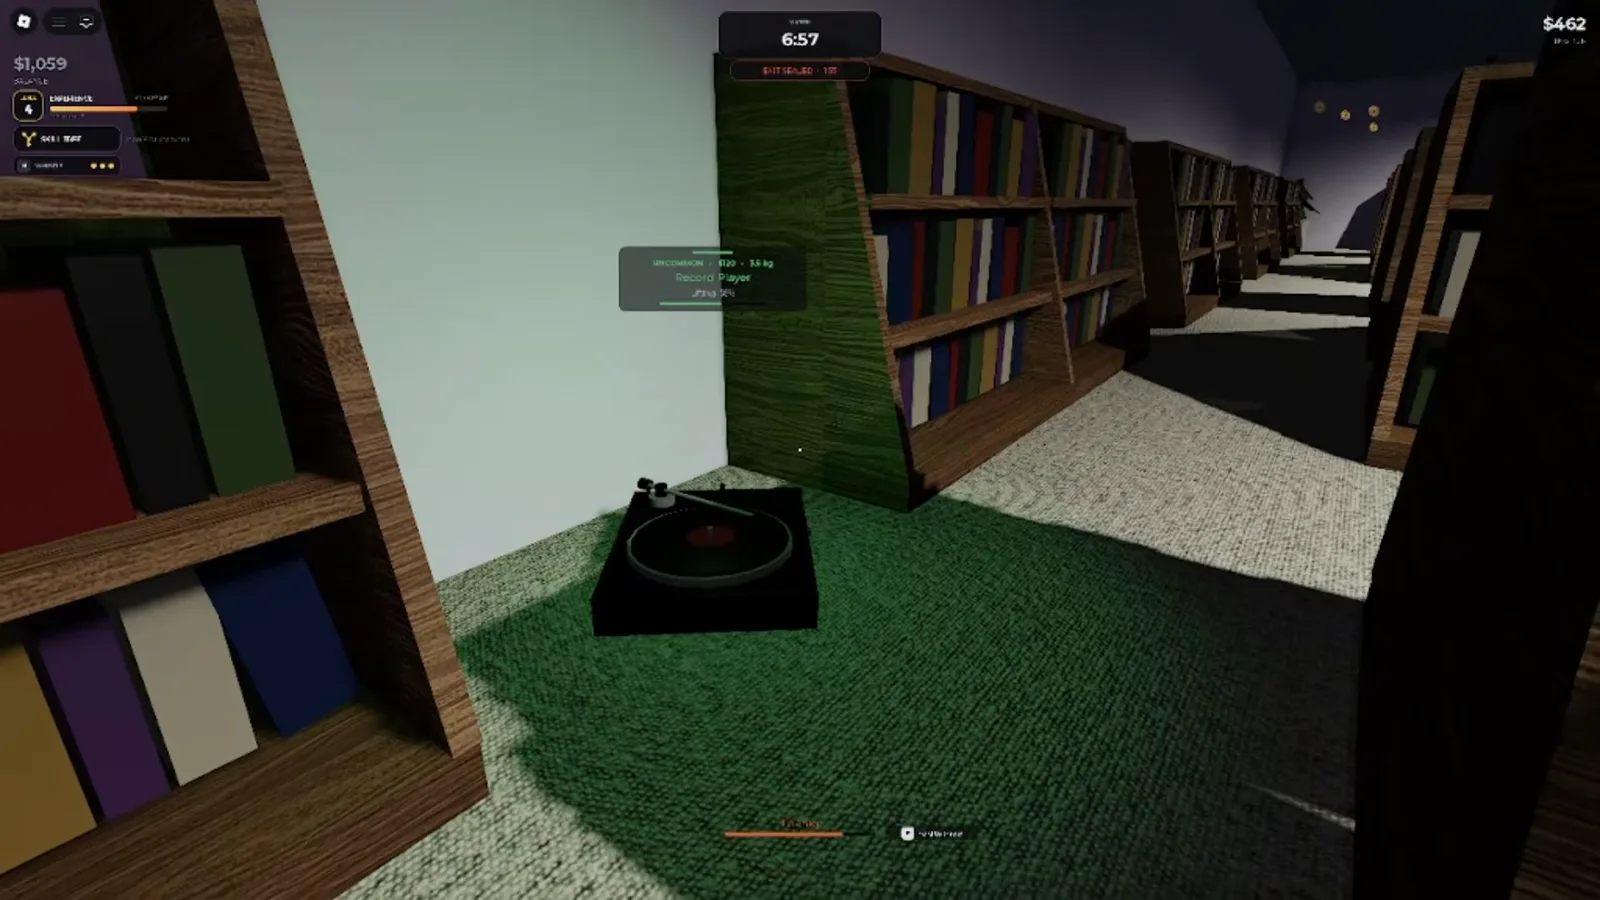 The library lounge — shelves, carpet, and mid-value props worth a pass on the way through. See 15:41 in the source video.
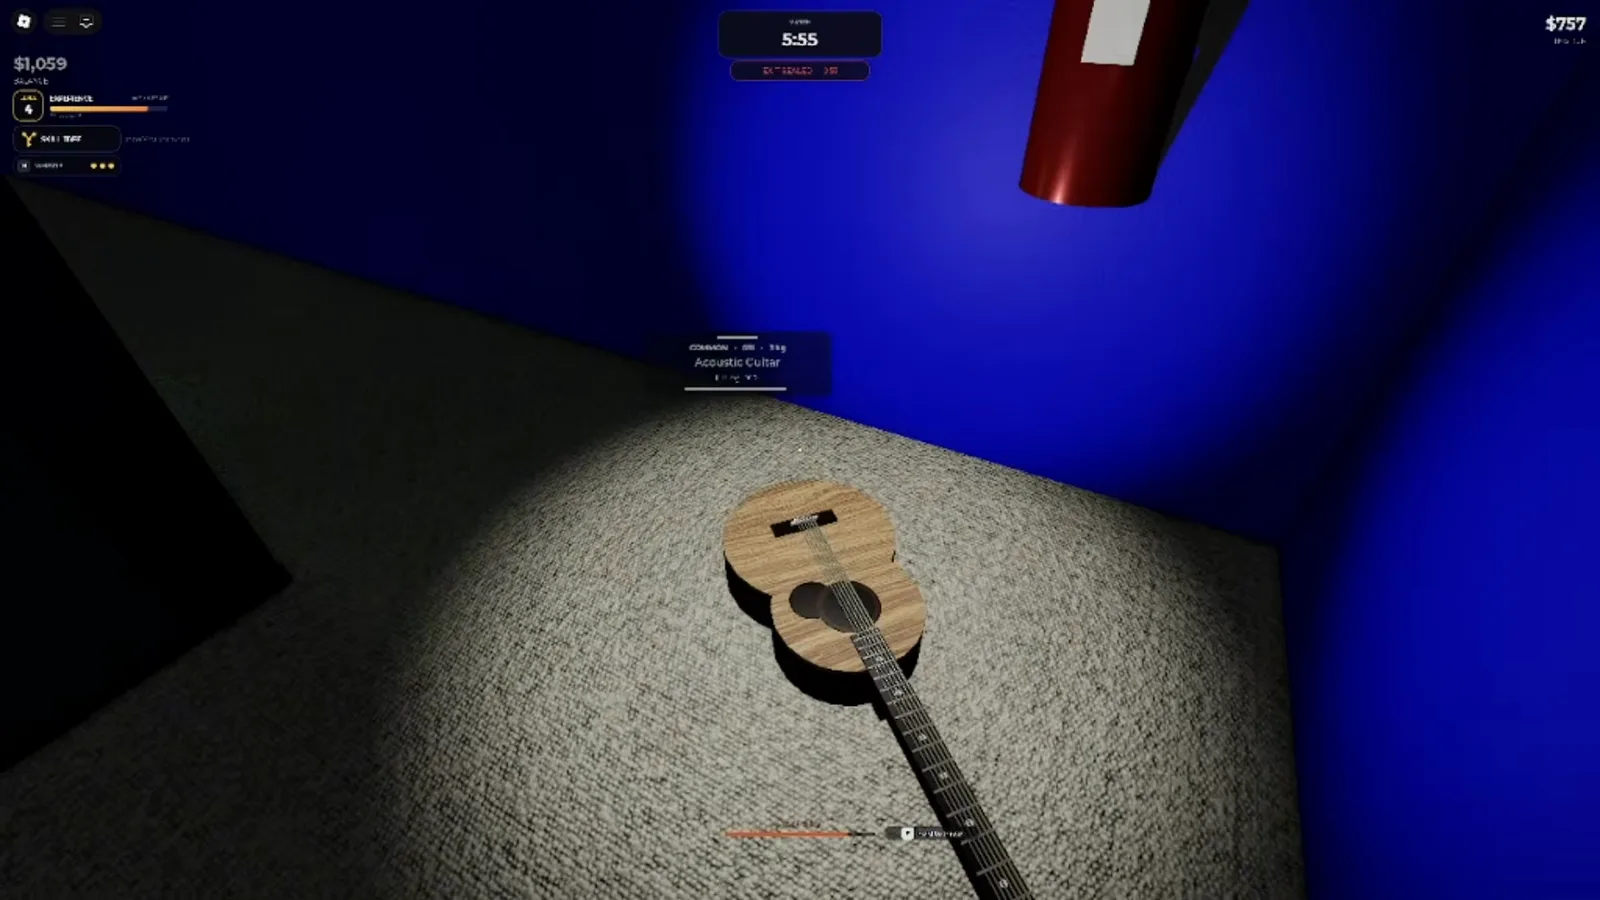 The blue room’s acoustic guitar — light, decent money, quick grab. See 16:21 in the source video.
When is going upstairs worth it?
Early. The upstairs concentrates bigger valuables, and the safe window is while the exit is still sealed and the match is quiet — go up, work the rooms, and be back down before the countdown. Two rules from the footage:
- Stairs are a commitment, not a shortcut. The entity camps chokepoints, and up there you have exactly one way out. Never be upstairs, heavy, with the entity below and the exit already open.
- The Office is dark. Streamers call out its moody lighting — “this a tough little office, though. I like the little lights and everything.” The same lights mean your flashlight beam travels further than your sight does, so check the hiding guide for the light discipline that keeps it from painting you down a hallway.
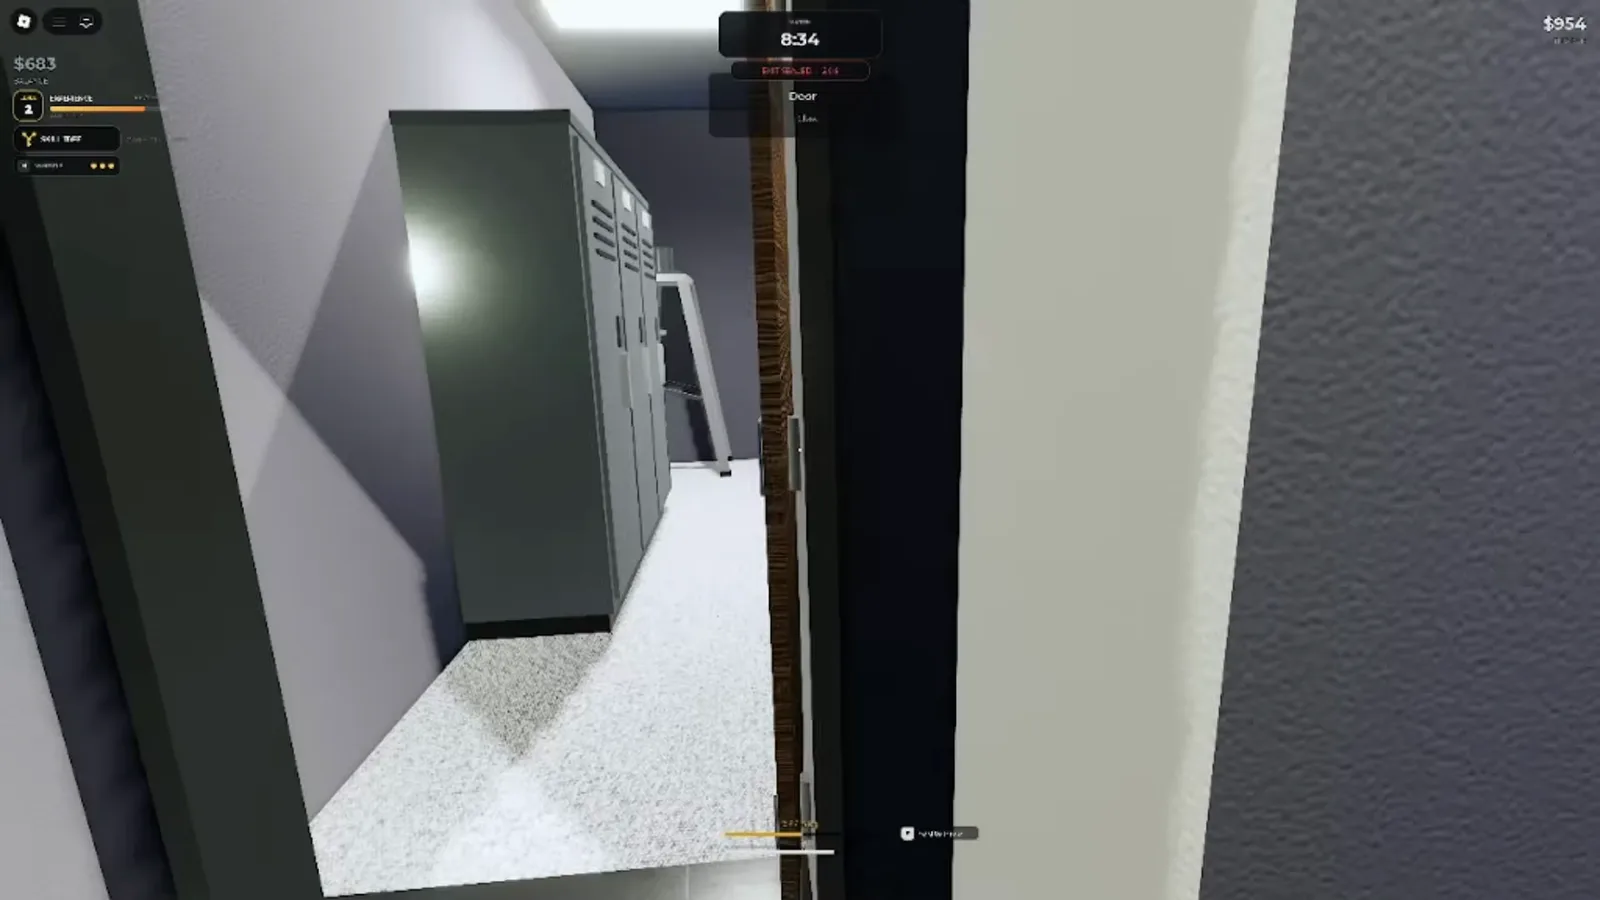 Lockers through a doorway — a delay spot, never a save. See 6:10 in the source video.
How do you end an Office run well?
Stop looting when the countdown says so, and use the last minutes to stage near the exit. The best endgame tool shown on the Office is the humble door: one streamer hid behind one with $810 banked while a hunter passed close enough to touch. Doors break line of sight, cost nothing, and exist in every room — the dorm-style multi-exit insurance of the American Dorm replaced by knowing how to stand still.
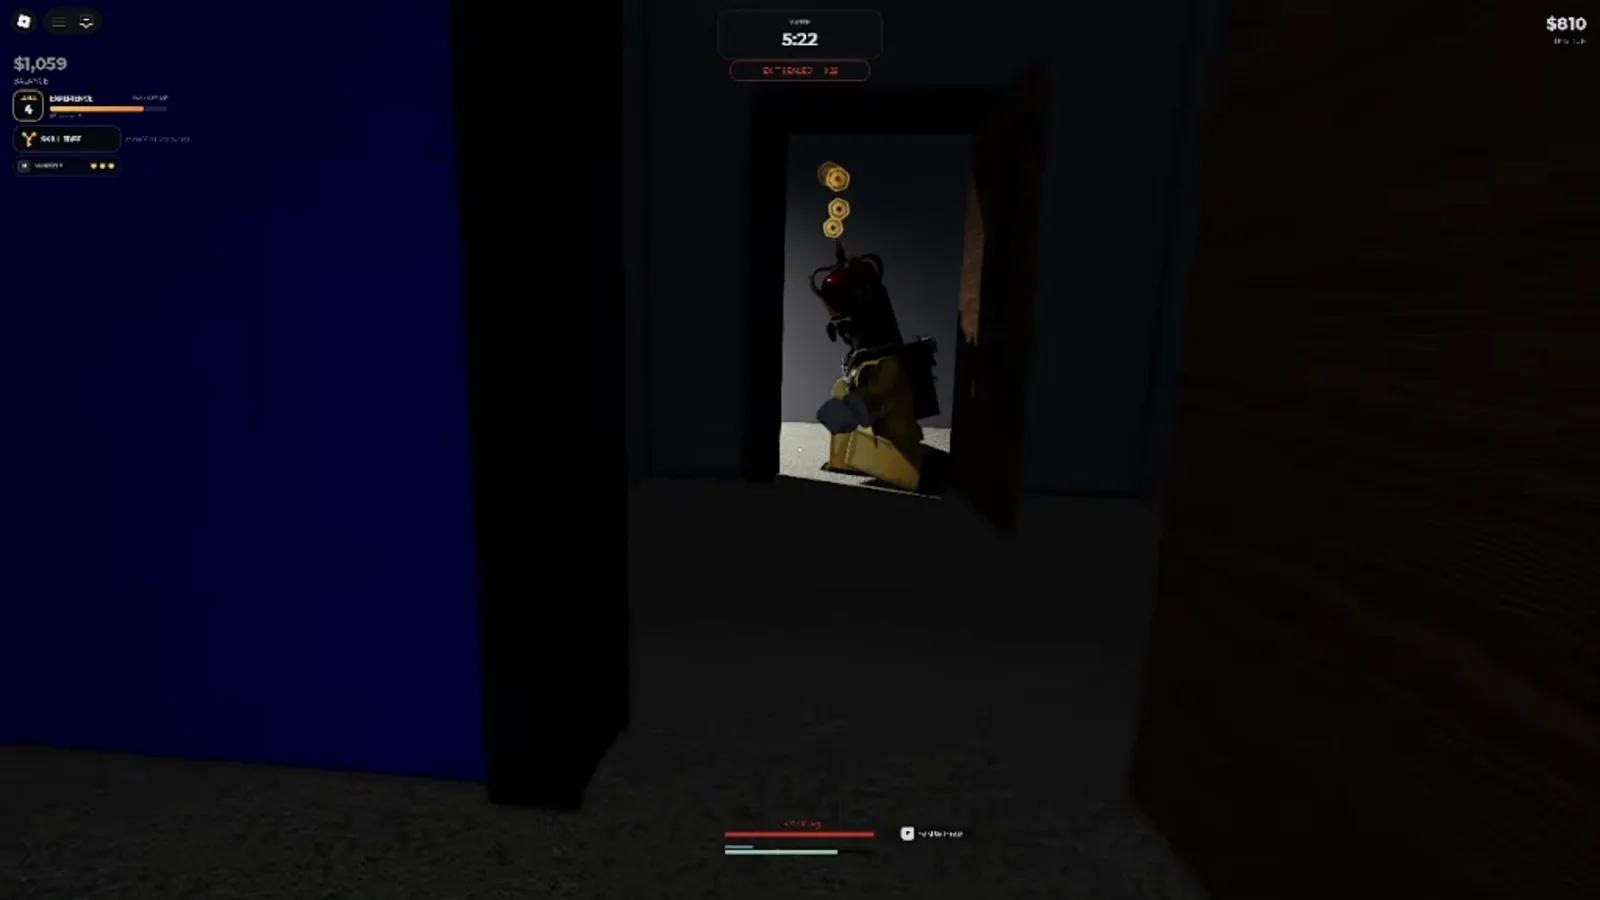 Hidden behind a door, $810 banked, hunter nearby — patience as a strategy. See 16:54 in the source video.
The exit-side hallways glow green as the countdown runs out. From that point forward, the run is a footrace you already won or lost — the Office’s $360-to-$810 range across two clean source runs shows the ceiling is real without heroics.
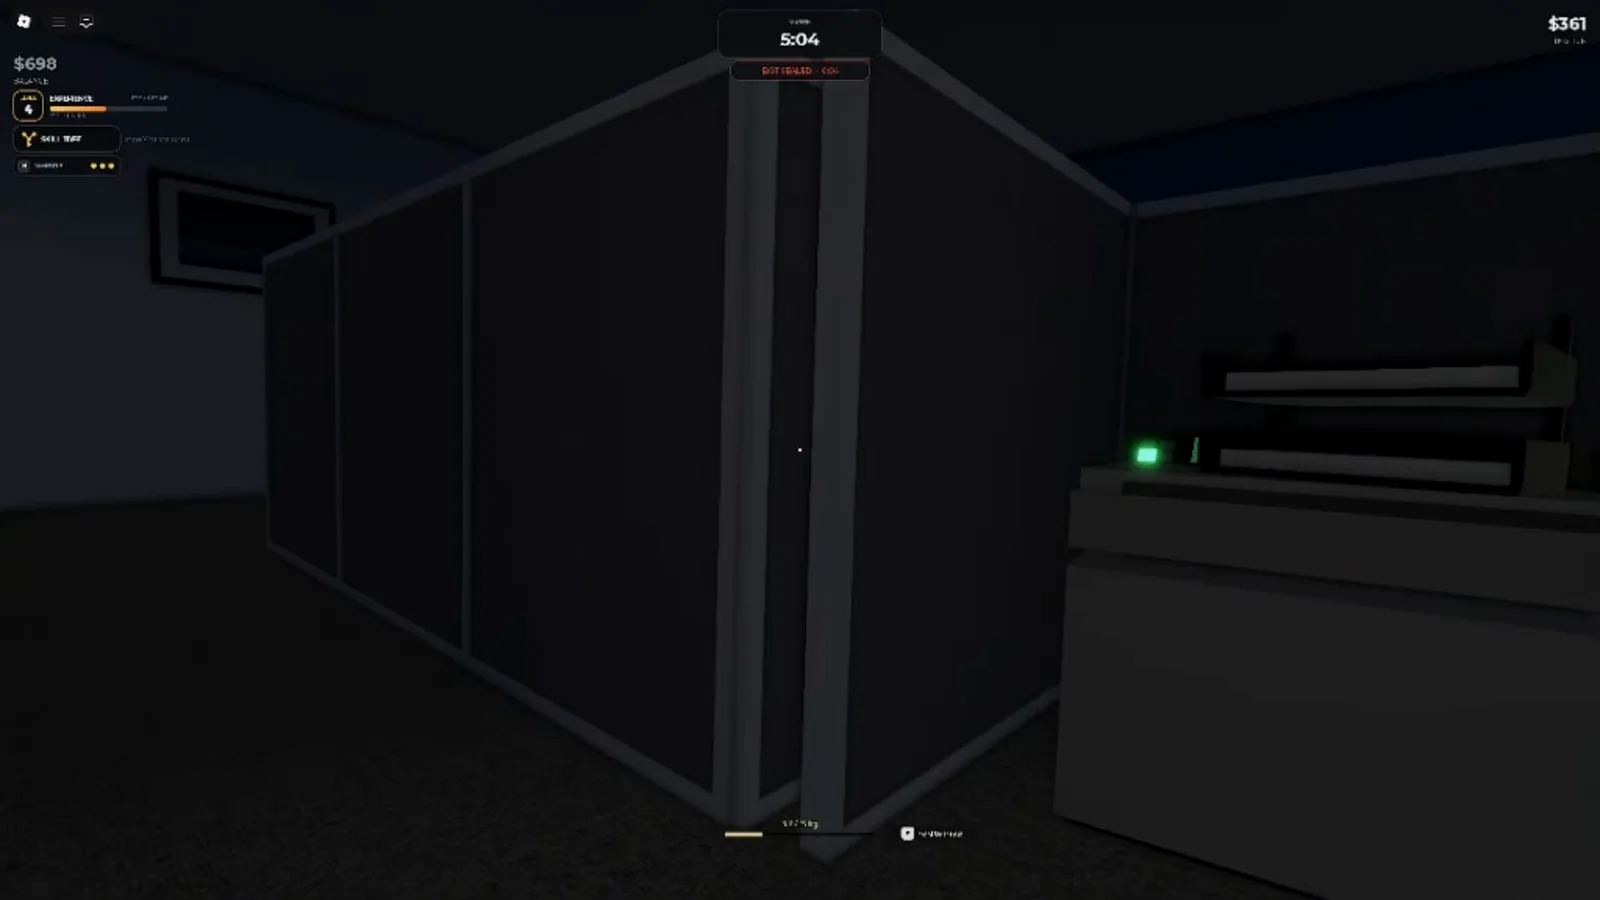 Green glow on the exit-side hallway — staging position for the last minute. See 14:01 in the source video.
Who should vote for the Office?
Players comfortable reading a two-floor building and respecting a chokepoint. It has the biggest loot ceiling of the three maps once you know where the conference room is, and the least forgiveness for wandering. If you are still learning the match loop, the beginner guide covers the fundamentals first; if you want the price board for everything the Office spawns, the value list keeps the confirmed numbers in one place.
Sources and footage credit
Office facts and every screenshot on this page come from Samwel’s Steal Or Die session (watch the source video on YouTube), with the upstairs quote and office lighting impression cross-checked against ChanceNelson Streams’ longer session. All prices are per-run observations; values drift match to match.

Steal Or Die Office runs with the upstairs discovery and conference room loot (community gameplay)
Related Articles
guides
Steal Or Die Full Blackout: What It Does and How to Survive
What the Full Blackout rare event does in Steal Or Die, the exact in-game warning, and how confirmed mechanics apply in total darkness — plus the honest unknowns.
guides
Steal Or Die American Dorm Map Guide: Two Floors, Extra Exits
A floor-by-floor Steal Or Die American Dorm walkthrough: bunk bedrooms, $50 textbook stacks, the interior staircase, confirmed extra exits and the mini fridge trap.
guides
Steal Or Die Facility Map Guide: Drives, Server Rooms and Routes
A room-by-room Steal Or Die Facility walkthrough: encrypted hard drive prices, the server-room danger curve, marked maintenance zones, exits and the HUD countdown.
Was this helpful?
Thanks for the feedback!