
Steal Or Die Facility Map Guide: Drives, Server Rooms and Routes
A room-by-room Steal Or Die Facility walkthrough: encrypted hard drive prices, the server-room danger curve, marked maintenance zones, exits and the HUD countdown.
FAQ
What loot is worth taking in the Steal Or Die Facility?
Are the Facility server rooms actually dangerous?
How many exits does the Facility have?
Can you hide inside the Facility?
Why does the exit timer change between Facility matches?
The Facility is the lab map of the three Steal Or Die arenas — the one where the loot turns scientific and the corridors turn tight. The maps overview already ranks it the meanest of the three; this page is the room-level version: where the money actually sits, which corridors chew people up, and how to read the exit countdown that decides when to stop being greedy.
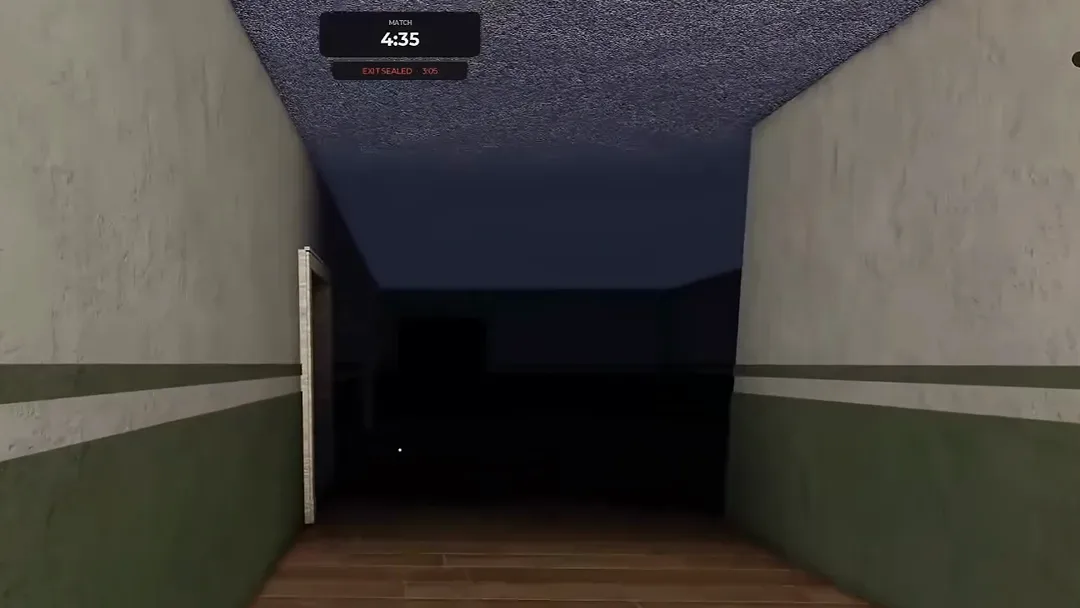 The standard Facility corridor at 4:35 on the match clock — exit still sealed for another three minutes. See 20:02 in the source video.
What does the Facility look like at spawn?
You load into green-and-white institutional corridors — wood floors, painted stripe, doors everywhere — and the first job does not change from any map: learn the exit direction before you touch a single item. The Facility’s corridors are narrow and turn quickly, which is great for breaking line of sight and terrible for getting cornered, so the first quiet minute is worth more here than anywhere else.
The corridors also hide the map’s flavor rooms. One interior off the hallway line has a wall mirror and a floor mat — a changing-room corner that reads as filler until you are being chased and need anywhere that is not a straight line.
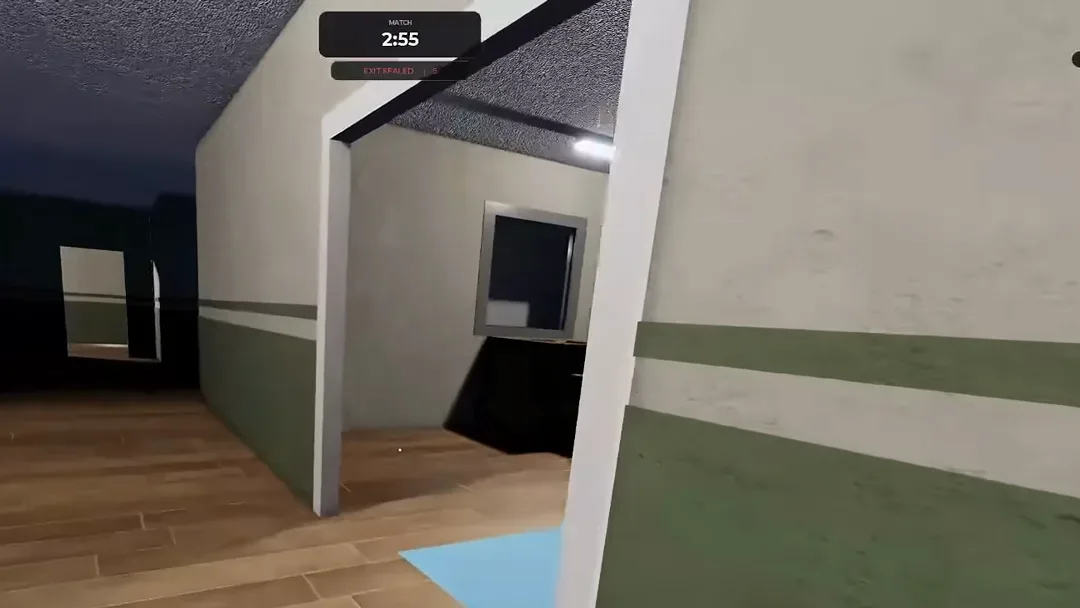 A changing-room corner off a Facility hallway — the kind of non-straight-line room you want pre-mapped. See 21:42 in the source video.
Why are encrypted hard drives the Facility’s signature loot?
Because they are the priciest confirmed items on the map — and because their price is printed right on the pickup. Two hard drives from the same streamer run, seconds apart, show the game rolling rarity on the item itself:
- Common — $156 on the floor of a side room, next to a filing cabinet.
- Uncommon — $217 on a desk, sitting beside a green server chassis.
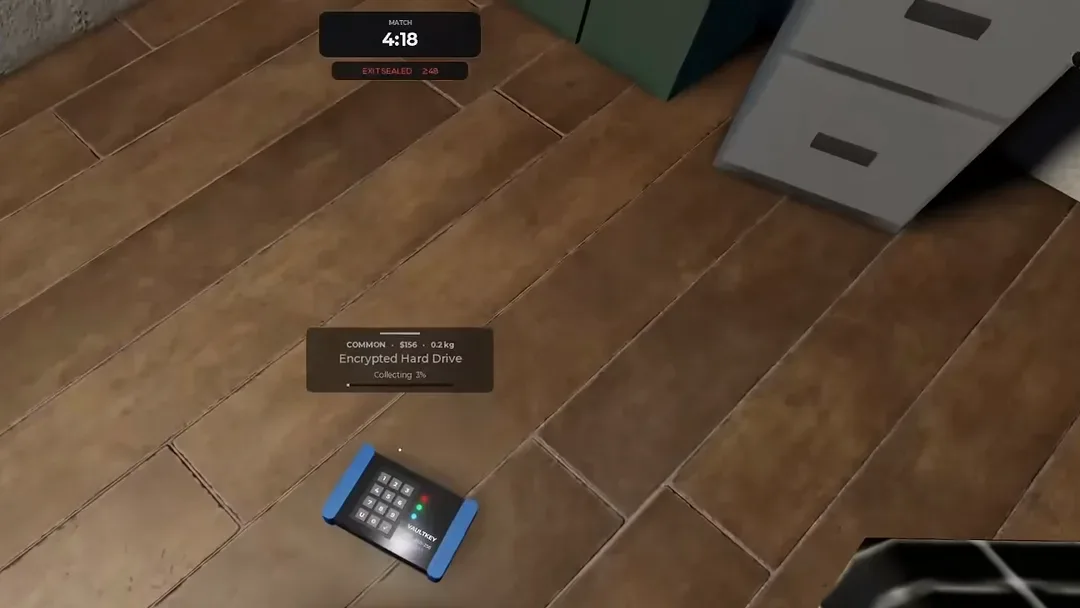 The Common roll: $156, 0.2 kg, collecting on a side-room floor. See 20:19 in the source video.
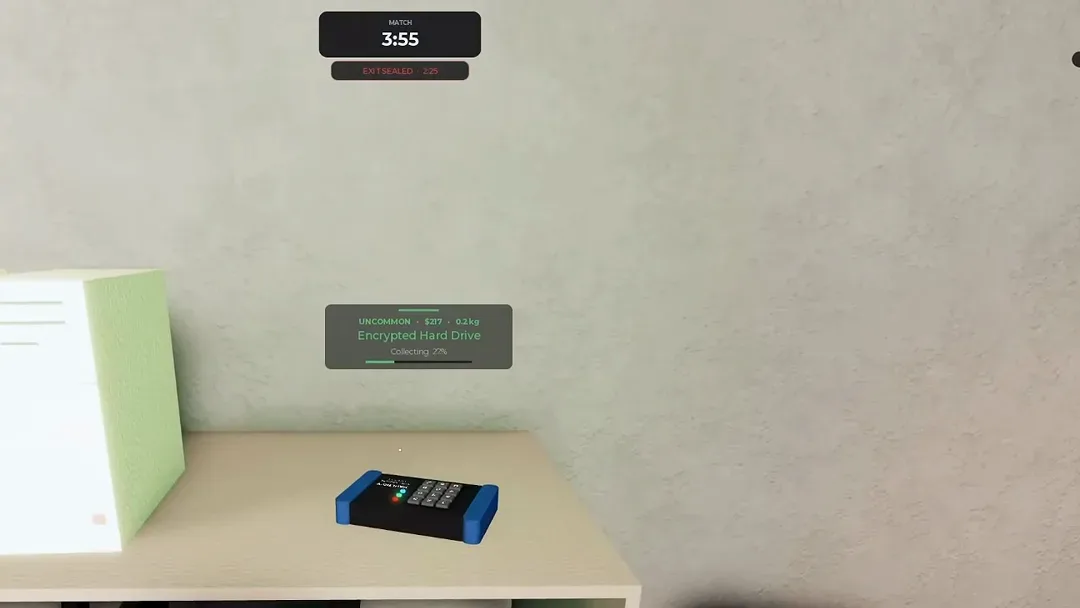 The Uncommon roll, seconds later in the same run: $217 on a desk, green server chassis on the left — the technical rooms the community warns about. See 20:42 in the source video.
Both prices float between matches — other runs have shown drives around $150 — so treat $150–$217 as the observed band, not a fixed price. The routing math still works: one drive-focused pass banked about $500 before the exit had even opened, which is why the Facility priority line in the overview is drives over sample cases. The full value-per-kilogram argument lives in the best loot guide, and the value list tracks every confirmed price in one table.
The storage rooms between the tech rooms hold shelving and boxes — light, fast money when a drive room is already picked clean, and a reasonable place to top off a bag on the way out.
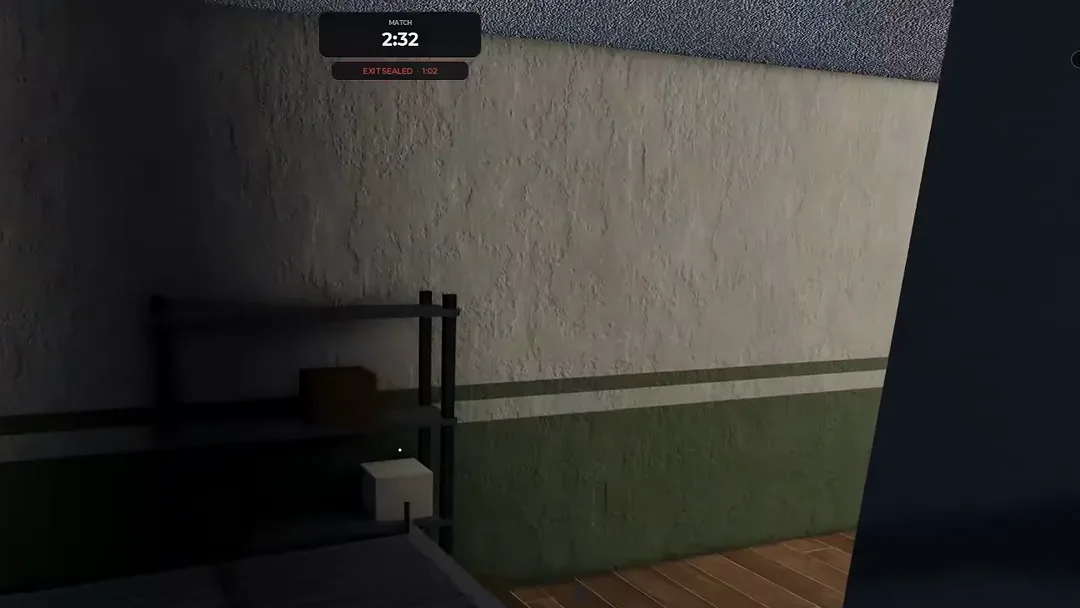 Storage shelving between tech rooms — top-off money on the way out. See 22:05 in the source video.
How dangerous are the Facility’s server rooms?
This is the map’s reputation, and it comes from the community rather than the game: players report the server-room wing as the deadliest area in Steal Or Die — one recurring comment describes “multiple massacres” and a survivor who nearly died there three separate times. The design explains the reports. High-value drives sit in tight, dark technical spaces with limited ways out, and the entity checks the good rooms first because that is where the greedy players are.
The practical translation: the drive wing is a one-pass zone. In, grab, out — no re-routing through it, no doubling back for “one more.” When the entity is already working the area, the outcome looks like this:
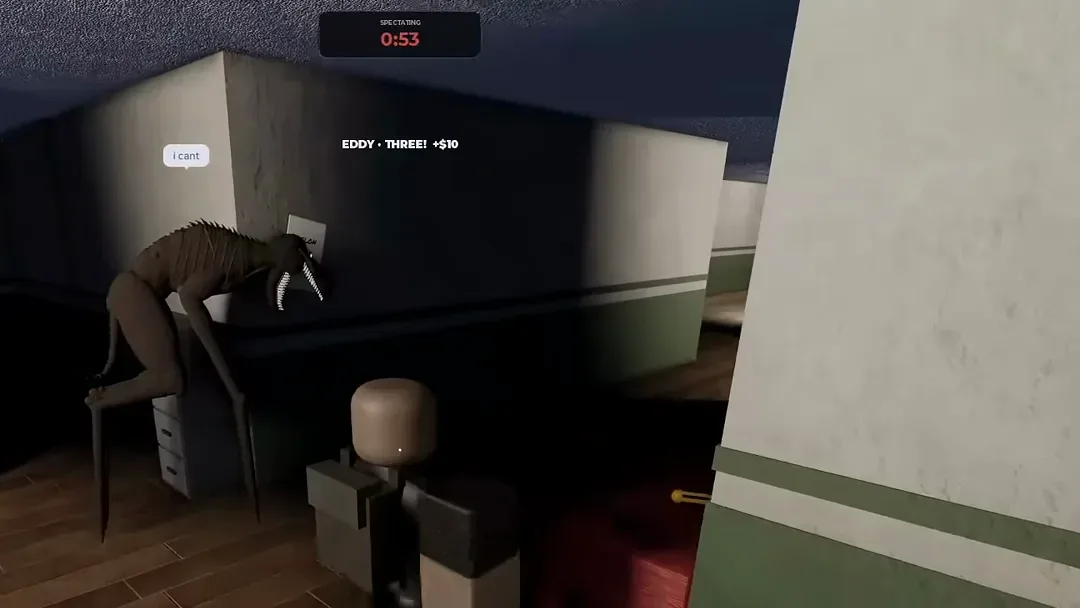 An entity catch on camera early in a Facility match, watched from the spectate view. See 19:32 in the source video.
Two more confirmed hazards shape the route. Marked maintenance and prohibited areas exist on the map — one streamer got called out mid-run for pushing into one — and the game has shown kills that finish a downed player outright while others listen from the next room. If a chase starts in the technical wing, do not fight for the corridor: take the first door out and reset. The hiding options that work under pressure — vents behind a screwdriver, lockers that only delay — are rated honestly in the hiding guide.
When does the exit open, and when should you stop looting?
The Facility’s most useful HUD element is the red pill under the match timer: a live countdown to the exit opening. Screenshots from the same run show the pairing stays consistent — with roughly a minute and a half left on the match clock, the exit countdown hits zero and the doors start working.
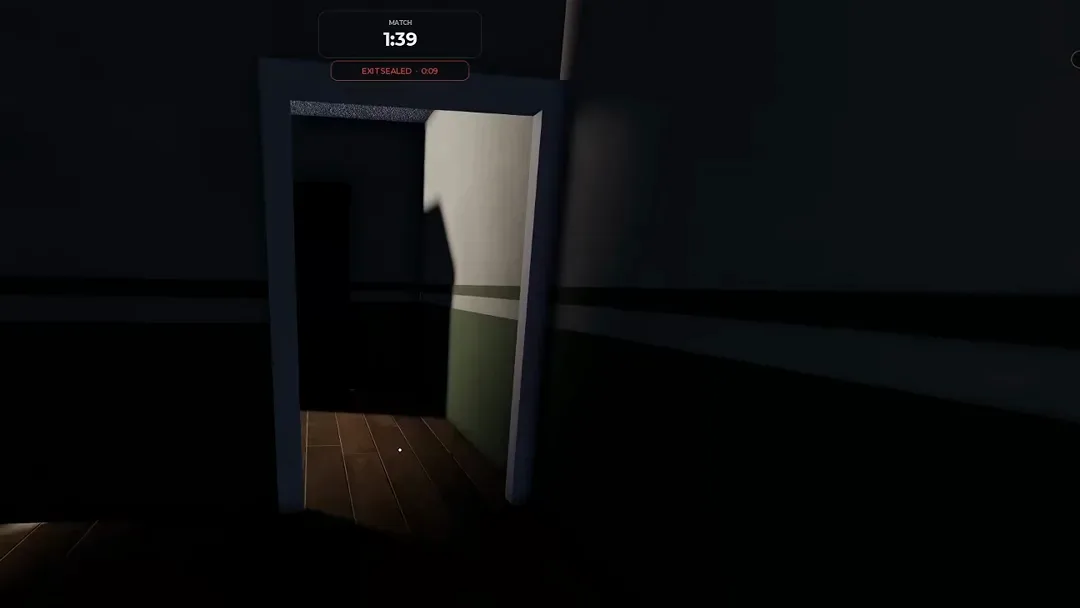 Nine seconds to exit: the doorway light comes on and the run turns into a footrace. See 22:58 in the source video.
One honest caveat: that window is not fixed across matches. Facility matches in community footage have shown the exit opening about 90 seconds before the match ends, while other matches on other maps open it six minutes out or more — most likely the mode vote’s fingerprint, since the lobby votes for a map and a mode and the mode names are still unknown. Read your own HUD at spawn and plan backward from it.
The rule the countdown enforces is the one that ends more runs than the entity does: loot only banks when you walk out. From the moment that pill starts counting down under two minutes, you are positioning, not shopping.
Who should vote for the Facility?
Players who want the highest ceiling per run and accept the highest floor. If you would rather have escape options than payout, the American Dorm trades drive money for confirmed multiple exits, and the Office splits the difference with a big two-floor layout. New enough that the map choice feels overwhelming? Run the beginner guide match flow first — the Facility rewards fundamentals more than it rewards nerve.
Sources and footage credit
Facility facts and every screenshot on this page come from ChanceNelson Streams’ full Steal Or Die session (watch the source run on YouTube) — cross-checked against the game’s official description and in-game tutorial text. Server-room massacre reports come from that video’s community comments. All prices are per-run observations; values drift match to match.

Steal Or Die Facility session with the hard drive runs and FULL BLACKOUT (community gameplay)
Related Articles
guides
Steal Or Die Full Blackout: What It Does and How to Survive
What the Full Blackout rare event does in Steal Or Die, the exact in-game warning, and how confirmed mechanics apply in total darkness — plus the honest unknowns.
guides
Steal Or Die American Dorm Map Guide: Two Floors, Extra Exits
A floor-by-floor Steal Or Die American Dorm walkthrough: bunk bedrooms, $50 textbook stacks, the interior staircase, confirmed extra exits and the mini fridge trap.
guides
Steal Or Die Office Map Guide: Upstairs, Loot Prices and Exits
A floor-by-floor Steal Or Die Office walkthrough: the upstairs discovery, conference-room hard drives, the 11 kg microwave trap, exits and hiding behind doors.
Was this helpful?
Thanks for the feedback!